
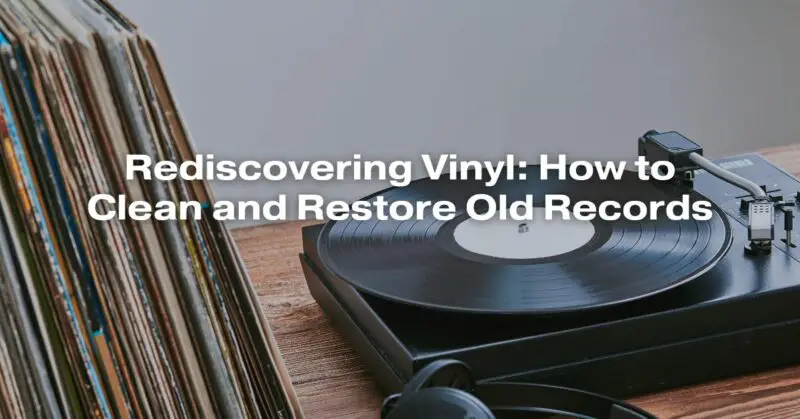
In the digital age, where music is readily available at the touch of a button, there’s something undeniably captivating about the analog charm of vinyl records. For audiophiles and music enthusiasts alike, the warm, organic sound of vinyl and the tactile experience of handling records offer a unique connection to music that can’t be replicated by digital formats. Whether you’re dusting off your old record collection or diving into the world of vinyl for the first time, one thing is certain: keeping your vinyl records clean and in good condition is essential for preserving their sonic quality and longevity. In this comprehensive guide, we will explore the art of cleaning and restoring old records to ensure they continue to bring joy to your ears for years to come.
The Importance of Cleaning and Restoring Vinyl Records
Vinyl records are fragile and susceptible to a range of contaminants and damage that can compromise their sound quality. Dust, dirt, fingerprints, and even mold can accumulate on the surface of records over time, causing crackling, pops, and other unwanted noise during playback. Additionally, scratches and wear can affect the grooves, leading to distortion and degradation of the audio.
Cleaning and restoring old records not only enhances their audio quality but also prolongs their lifespan. Proper maintenance can prevent irreversible damage and help preserve the value of rare or collectible vinyl. So, let’s delve into the step-by-step process of cleaning and restoring your vinyl treasures.
Gather Your Supplies
Before you embark on the journey of revitalizing your vinyl collection, it’s essential to gather the necessary tools and supplies:
- Cleaning Solution: You can either purchase a vinyl record cleaning solution from a reputable brand or make your own by mixing distilled water with isopropyl alcohol (90% or higher). A mixture of 20% alcohol to 80% water is commonly recommended.
- Microfiber Cloths: Use lint-free microfiber cloths for gentle cleaning. Avoid abrasive materials like paper towels or regular cloth.
- Soft Brush: A soft-bristle brush designed for vinyl records is essential for removing loose dust and debris from the grooves.
- Record Cleaning Machine: While not mandatory, a record cleaning machine can greatly simplify the cleaning process, especially if you have a sizable collection.
- Antistatic Brush: An antistatic brush can help reduce static electricity, which attracts dust to the record’s surface.
- Record Sleeves: Invest in high-quality inner and outer record sleeves to protect your vinyl from dust and scratches when not in use.
- Vinyl Storage: Store your records vertically in a cool, dry place away from direct sunlight and extreme temperature fluctuations.
Cleaning and Restoring Your Vinyl Records
Now that you have your supplies ready, follow these steps to clean and restore your vinyl records:
Step 1: Prepare Your Workspace
Choose a clean and clutter-free workspace. Ensure your hands are clean and dry to avoid transferring oils and dirt onto the records.
Step 2: Inspect Your Records
Examine each record for visible dirt, dust, and debris. Remove any loose particles with a soft brush, gently moving from the center to the outer edge to prevent pushing debris further into the grooves.
Step 3: Wet Cleaning
- Apply Cleaning Solution: Lay the record on a clean, flat surface. Using a spray bottle, apply the cleaning solution to the surface of the record. Avoid spraying the label and center hole.
- Gently Brush: Use a soft brush or a specialized record-cleaning brush to scrub the record’s surface in a circular motion. Be gentle but thorough, ensuring you cover the entire surface.
- Rinse: Rinse the record with distilled water to remove the cleaning solution, either by spraying or using a damp microfiber cloth.
Step 4: Drying
Place the cleaned record on a lint-free surface and let it air dry completely. Ensure there’s no residual moisture left, as this can lead to mold growth or damage.
Step 5: Store Properly
Once the record is dry, place it in a new anti-static inner sleeve and then into the outer sleeve. Store it vertically in your collection.
Additional Tips and Considerations
- Handle Records Carefully: Always hold records by the edges and avoid touching the grooves or the playing surface.
- Use a Carbon Fiber Brush: Invest in a carbon fiber brush for routine maintenance. These brushes effectively remove dust and static from records before each play.
- Avoid Direct Sunlight: Store your records away from direct sunlight, as heat can warp them.
- Replace Worn Needles: If you notice any degradation in sound quality or excessive noise, consider replacing your turntable’s stylus or needle.
- Digitize Your Collection: To preserve your vinyl collection further, consider digitizing it to enjoy your favorite music in a digital format while keeping the records in pristine condition.
Conclusion
Rediscovering the world of vinyl is a rewarding journey that starts with proper care and maintenance of your records. Cleaning and restoring old records not only ensures a superior listening experience but also safeguards these cherished artifacts for future generations. With the right tools, techniques, and a little patience, you can keep your vinyl collection in tip-top shape, allowing you to enjoy the warmth and nostalgia of analog music for years to come. So, put on your favorite record, sit back, and relish the timeless magic of vinyl.
