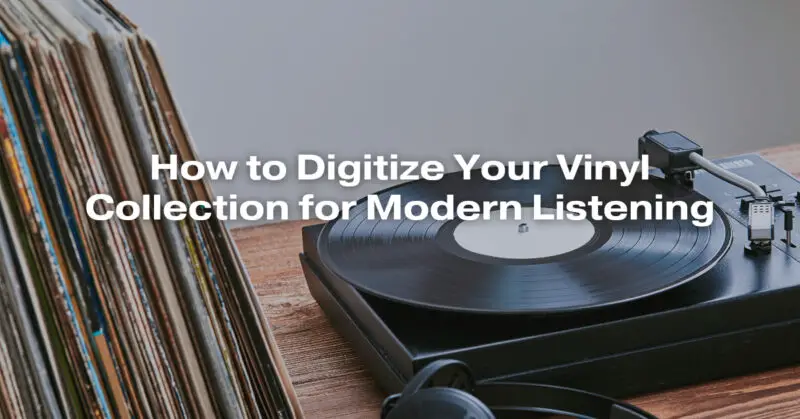
Digitizing your vinyl collection allows you to enjoy your favorite records in the digital format and preserve them for the future. Here’s a step-by-step guide on how to digitize your vinyl collection for modern listening:
1. Gather Your Equipment:
- You’ll need the following equipment:
- Turntable: Ensure it’s in good working condition.
- Phono preamp (if your turntable doesn’t have a built-in preamp).
- Stereo receiver or amplifier.
- Computer with audio recording software.
- External audio interface (optional but recommended for higher quality).
- RCA cables.
- USB cable (if using an external audio interface).
- Vinyl cleaning kit to clean your records before digitizing.
2. Choose the Right Software:
- Select audio recording and editing software for your computer. Popular options include Audacity (free), Adobe Audition, GarageBand (for Mac users), or Reaper. Install and configure the software according to your preferences.
3. Set Up Your Turntable:
- Place your turntable on a stable surface away from vibrations and dust.
- Connect the turntable to the phono preamp if needed, and then connect the preamp to your stereo receiver or amplifier.
- Connect the receiver or amplifier to your computer’s audio interface using RCA cables.
- Make sure all connections are secure.
4. Configure Recording Settings:
- In your recording software, select the audio input source as the external audio interface or the built-in sound card, depending on your setup.
- Set the recording format (usually 16-bit/44.1kHz for CD-quality audio) and select a lossless audio format like WAV or FLAC for the best quality.
5. Test and Adjust Levels:
- Play a record and monitor the audio levels on your recording software. Ensure the levels don’t clip (go into the red) and that the volume is adequate.
- Adjust the recording levels on your preamp, receiver, or amplifier to achieve the best sound quality without distortion.
6. Clean Your Records:
- Clean your vinyl records using a record cleaning brush or a record cleaning machine. Clean records result in better sound quality and reduce the risk of damaging your stylus.
7. Start Recording:
- Place the needle on the record and start recording in your software. It’s a good idea to record each side of the vinyl as a separate track to maintain album organization.
- Let the entire side play, capturing the full audio content of the record.
8. Edit and Split Tracks:
- After recording, use your software to edit and split tracks. Remove any unwanted noise, pops, or clicks and add track markers where each song begins.
9. Save and Export:
- Save your digitized vinyl as individual tracks in your chosen format (e.g., WAV or FLAC).
- Organize your digital files with proper metadata, including album, artist, track names, and album art.
10. Back Up Your Files: – It’s crucial to back up your digitized vinyl collection to prevent loss. Store copies on external hard drives, cloud storage, or other backup solutions.
11. Enjoy Your Digital Collection: – Now you can listen to your digitized vinyl collection on your computer, smartphone, tablet, or digital audio player. Use media player software or streaming services to manage and play your music.
12. Maintain Your Records: – Continue to care for your vinyl records to ensure they remain in good condition. Store them in dust-free sleeves and keep them clean to prolong their life.
Digitizing your vinyl collection is a rewarding process that allows you to preserve your cherished music and enjoy it in the digital age. It also provides a backup in case your vinyl records degrade over time.


