
Starting home recording with your guitar amplifier is an exciting journey that can open up a world of creative possibilities. Whether you’re recording demos, sharing music online, or pursuing a professional recording career, here’s a step-by-step guide to help you get started from your bedroom to a full-fledged studio setup:
1. Choose Your Recording Space:
- Select a quiet and comfortable space for recording. Ideally, it should have minimal background noise, good acoustics, and enough room for your recording equipment and instruments.
2. Essential Equipment:
- Here’s a list of essential recording equipment you’ll need:
- Computer: A desktop or laptop computer with sufficient processing power and storage space.
- Audio Interface: An audio interface converts your guitar’s analog signal into digital data that your computer can process. It typically includes input and output ports for connecting instruments and studio monitors.
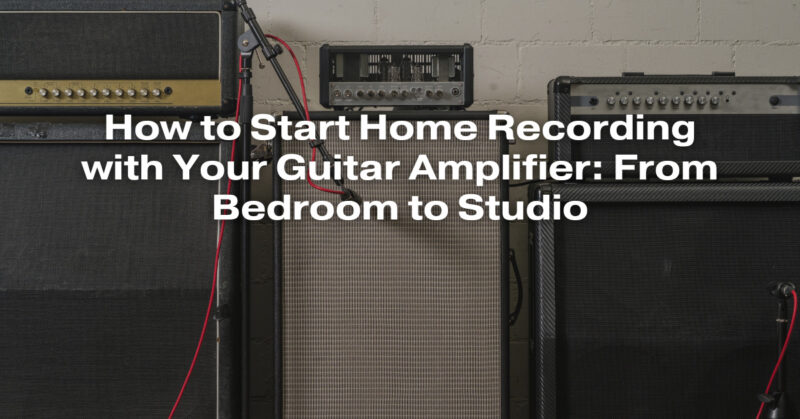
- Microphones: You’ll need a microphone for recording your amplifier. Dynamic microphones like the Shure SM57 are popular for miking guitar amps.
- Headphones: Closed-back headphones are suitable for monitoring while recording to prevent sound leakage.
- Digital Audio Workstation (DAW): Choose a DAW like Ableton Live, Pro Tools, Logic Pro, or Reaper for recording, editing, and mixing your tracks.
- Cables: High-quality cables to connect your guitar, amp, and microphones to the audio interface.
3. Set Up Your Amplifier:
- Position your amplifier in your recording space, keeping in mind microphone placement and the sound you want to capture. Experiment with microphone placement to find the best spot for your desired tone.
4. Connect Your Gear:
- Connect your guitar to the amplifier and use a microphone to capture the amp’s sound. Connect the microphone to the audio interface and the interface to your computer via USB or FireWire.
5. Configure Your DAW:
- Install and configure your chosen DAW. Set the audio interface as your input and output device. Configure input and output levels to avoid clipping (distortion due to excessively high levels).
6. Test Your Setup:
- Before recording, test your setup by playing your guitar through the amplifier and monitoring the sound through your headphones. Ensure that everything is working correctly and that the signal is clean.
7. Recording:
- Start recording by creating a new track in your DAW. Arm the track for recording and set your desired settings, such as sample rate and bit depth.
- Play your guitar through the amplifier, and the microphone will capture the sound.
- Experiment with different microphone positions and amp settings to achieve the tone you want.
8. Editing and Mixing:
- After recording, use your DAW to edit and mix your tracks. You can add effects, EQ, and other processing to shape your guitar tone and achieve the desired sound.
9. Export and Share:
- Once you’re satisfied with your recording, export it as a high-quality audio file (e.g., WAV or AIFF). You can then share your music online or use it for other purposes, such as demos or collaborations.
Starting home recording with your guitar amplifier is an exciting and rewarding endeavor. With the right equipment, software, and techniques, you can create professional-quality recordings from the comfort of your own space, whether it’s a bedroom studio or a full-fledged recording studio setup.
