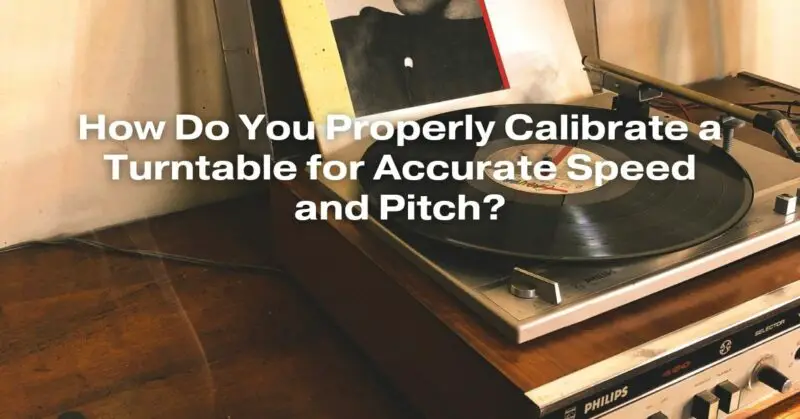
Vinyl records have made a remarkable comeback in recent years, captivating audiophiles with their warm, rich sound. To truly appreciate the nuances of your vinyl collection, it’s essential to ensure that your turntable is properly calibrated. Calibrating your turntable for accurate speed and pitch is not just a technicality; it’s a necessity to preserve the integrity of the music as the artist intended. In this comprehensive guide, we will walk you through the step-by-step process of calibrating your turntable to achieve the perfect playback experience.
Understanding the Basics
Before diving into the calibration process, it’s crucial to understand the basic components of a turntable:
- Platter: The rotating platform where the vinyl record sits.
- Motor: Drives the platter’s rotation.
- Belt: Connects the motor to the platter, regulating its speed.
- Tonearm: Holds the cartridge and stylus, which read the grooves on the record.
Tools You’ll Need
- A strobe disc or app (for speed calibration)
- A small screwdriver (for adjusting the turntable’s pitch control)
- A bubble level (for leveling the turntable)
Calibrating Speed
- Strobe Disc or App: Obtain a strobe disc or use a strobe app on your smartphone. Strobe discs typically have markings and a pattern that will appear to stand still when the turntable is at the correct speed.
- Adjusting Speed: Start your turntable and place the strobe disc on the platter. Use the speed adjustment controls (located usually underneath the turntable) to adjust the speed until the markings on the strobe disc appear stationary. This ensures that your turntable is spinning at the correct speed (usually 33 1/3 or 45 RPM).
- Checking Wow and Flutter: Wow and flutter refer to irregularities in the turntable’s speed. Listen for any wavering or warbling sounds. If you notice any, it might indicate an issue with the turntable’s motor or belt.
Calibrating Pitch
- Setting the Tonearm: Ensure the tonearm is balanced and set to the correct tracking force as specified by your cartridge’s manual. This prevents excessive wear on your records and stylus.
- Using a Test Record: A test record with various frequency tones can be immensely helpful. Listen for any deviations in pitch as the tones play. If you notice discrepancies, it’s time to adjust the pitch control.
- Adjusting Pitch: Using a small screwdriver, access the pitch control on your turntable. Make slight adjustments until the pitch of the tones aligns with the reference pitch. Be patient and make incremental changes to avoid overcompensation.
Ensuring Proper Leveling
- Placement: Put your turntable on a sturdy surface, away from speakers to prevent vibrations. Use a bubble level to ensure the turntable is perfectly level. Uneven surfaces can affect the tracking and sound quality.
- Isolating Vibrations: If your turntable is still susceptible to vibrations, consider using isolation pads or a dedicated turntable stand. These minimize the impact of external vibrations on your listening experience.
Conclusion
Calibrating your turntable for accurate speed and pitch might seem daunting at first, but it’s an essential process for any vinyl enthusiast. A properly calibrated turntable not only ensures faithful reproduction of your favorite albums but also prolongs the life of your records and stylus.
Regular maintenance and careful calibration will reward you with a superior listening experience, allowing you to immerse yourself in the timeless charm of vinyl records. So, invest the time and effort in calibrating your turntable properly, and let the music transport you to a world of unparalleled sonic bliss.

