
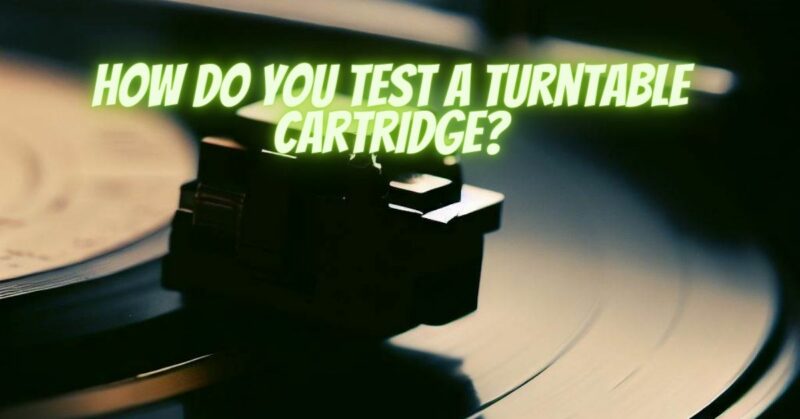
The turntable cartridge is the unsung hero of your vinyl playback system, responsible for translating the grooves on your records into sweet, analog music. To ensure your vinyl collection sounds its best, it’s essential to understand how to test and maintain your turntable cartridge. In this step-by-step guide, we’ll walk you through the process of testing your turntable cartridge, helping you achieve optimal audio quality and prolonging the life of your vinyl records.
Step 1: Gather Your Tools
Before you begin, gather the necessary tools and materials:
- A clean, high-quality vinyl record for testing.
- A turntable with a working tonearm and cartridge.
- A stylus force gauge.
- A cartridge alignment protractor.
- A cleaning brush for records and stylus.
- A tracking force scale.
Step 2: Set Up Your Turntable
Ensure your turntable is properly set up, leveled, and isolated from vibrations. Check that the tonearm is balanced and the anti-skate mechanism is adjusted correctly.
Step 3: Check Stylus Condition
Inspect the condition of your cartridge’s stylus (the needle). It should be clean and free from visible damage. A damaged or worn stylus can harm your records and compromise sound quality.
Step 4: Set Tracking Force
Use the stylus force gauge to set the tracking force of your cartridge. This is the amount of downward pressure the stylus exerts on the record. Consult your cartridge’s specifications for the recommended tracking force, and adjust it accordingly.
Step 5: Align the Cartridge
Proper cartridge alignment is crucial for accurate tracking and minimal record wear. Use a cartridge alignment protractor to ensure your cartridge is aligned correctly. Align it both laterally and vertically according to the manufacturer’s guidelines.
Step 6: Clean the Stylus
Use a stylus cleaning brush to gently remove dust and debris from the stylus. This helps maintain optimal contact between the stylus and the record grooves.
Step 7: Play the Test Record
Place the clean test record on your turntable and cue the tonearm onto the lead-in groove. The test record typically contains various audio tracks and test signals to evaluate the cartridge’s performance.
Step 8: Listen and Observe
As the test record plays, carefully listen for any signs of distortion, mistracking, or excessive surface noise. Pay attention to the high-frequency and low-frequency tracks to assess the cartridge’s overall performance.
Step 9: Adjust as Needed
If you notice issues such as distortion or mistracking, revisit the tracking force and alignment settings. Fine-tune these settings until you achieve optimal audio quality.
Step 10: Record Your Settings
Once you’ve achieved the desired sound quality, document your cartridge’s settings, including tracking force, alignment, and any other relevant adjustments. This makes it easier to maintain consistent performance.
Step 11: Regular Maintenance
Regularly clean your records and stylus to prevent dirt and dust buildup. Additionally, periodically check and recalibrate your tracking force and alignment to ensure consistent performance over time.
Testing and maintaining your turntable cartridge is essential for preserving your vinyl collection and enjoying the best possible sound quality. By following this step-by-step approach, you’ll not only enhance your listening experience but also prolong the life of your cherished vinyl records. Remember that patience and precision are key when dealing with delicate analog equipment like turntable cartridges.
