
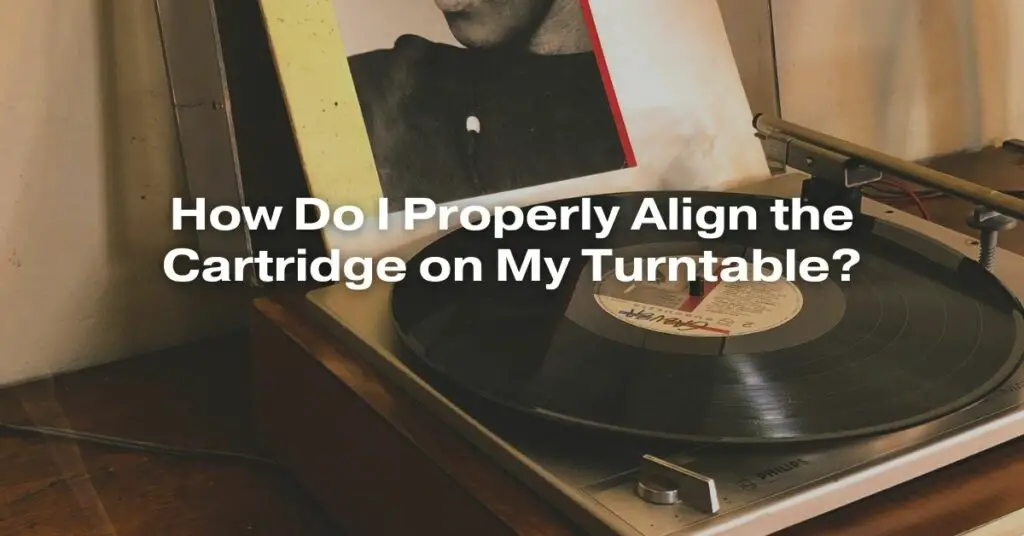
Proper cartridge alignment is crucial for achieving optimal sound quality from your turntable. A misaligned cartridge can cause a variety of issues, including:
-
Distortion and poor sound quality: When the cartridge is not aligned correctly, the stylus will not track the grooves of the record accurately, leading to distortion and poor sound quality.
-
Premature wear on your records and stylus: A misaligned cartridge can cause excessive wear on both your records and stylus, shortening their lifespan.
-
Skipping and tracking errors: In severe cases, a misaligned cartridge can cause the stylus to skip or jump out of the groove, leading to interruptions in playback.
Tools Required:
-
Cartridge alignment protractor: This is a specialized tool that helps you align the cartridge correctly. There are different types of protractors available, so make sure you get one that is compatible with your turntable.
-
Small screwdriver: You will need a small screwdriver to loosen and tighten the screws that hold the cartridge in place.
Steps for Proper Cartridge Alignment:
-
Prepare the turntable: Make sure your turntable is level and on a stable surface. Remove the dust cover and platter if necessary.
-
Mount the cartridge: If you are installing a new cartridge, follow the manufacturer’s instructions for mounting it onto the headshell.
-
Position the protractor: Place the protractor on the turntable spindle, ensuring it is centered and aligned correctly.
-
Align the cartridge at the first point: Lower the tonearm and carefully position the stylus tip on the first alignment point on the protractor. Observe the cartridge body and make sure it is parallel to the grid lines on the protractor.
-
Adjust the cartridge position: If the cartridge is not parallel to the grid lines, loosen the screws holding it in place and gently rotate the cartridge until it aligns correctly.
-
Check alignment at the second point: Move the tonearm to position the stylus tip on the second alignment point on the protractor. Check if the cartridge body remains parallel to the grid lines.
-
Fine-tune the alignment: Repeat steps 4-6 until the cartridge is aligned correctly at both alignment points.
-
Tighten the screws: Once the cartridge is aligned, carefully tighten the screws holding it in place.
-
Verify alignment: Double-check the alignment using the protractor.
-
Enjoy your music: With the cartridge properly aligned, you can now enjoy the full potential of your turntable and experience the best possible sound quality from your vinyl records.
Additional Tips:
-
Take your time and be patient: Cartridge alignment requires precision and careful adjustments. Don’t rush the process.
-
Use a magnifying glass: A magnifying glass can be helpful in observing the alignment more closely, especially if you have difficulty seeing the fine details.
-
Seek professional help if needed: If you are not comfortable aligning the cartridge yourself or encounter persistent issues, consider seeking assistance from a professional turntable technician.
