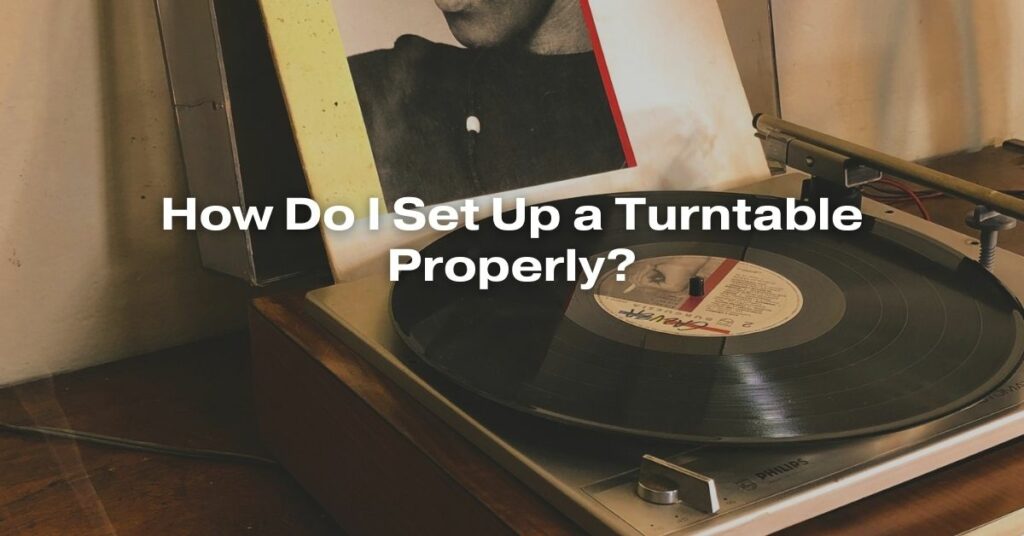
The resurgence of vinyl records has brought back the joy of listening to music in its purest analog form. However, setting up a turntable can be a daunting task for beginners, as it requires precision and attention to detail. This comprehensive guide will walk you through the essential steps of setting up your turntable properly, ensuring optimal sound quality and preventing damage to your precious vinyl collection.
1. Choose a Suitable Location:
Position your turntable on a stable, level surface, away from direct sunlight, sources of vibration, and strong magnetic fields. These factors can affect the turntable’s performance and potentially damage your records.
2. Assemble the Turntable:
Carefully unpack and assemble the turntable components according to the manufacturer’s instructions. This usually involves attaching the platter, tonearm, and cartridge. Handle these delicate parts with care to avoid damage.
3. Install the Cartridge:
The cartridge is responsible for converting the grooves on the record into electrical signals. Install the cartridge onto the headshell at the end of the tonearm. Align the cartridge’s stylus (needle) with the recommended overhang and offset specifications provided by the manufacturer.
4. Set the Vertical Tracking Force (VTF):
The VTF is the downward force exerted by the stylus onto the record. Adjust the counterweight at the rear of the tonearm to achieve the recommended VTF specified for your cartridge. This ensures that the stylus tracks the grooves accurately without causing excessive wear or distortion.
5. Adjust the Anti-Skating Force:
Anti-skating counteracts the inward force experienced by the tonearm as it tracks the record. Set the anti-skate adjustment to the same value as the VTF to prevent the stylus from skipping or damaging the grooves.
6. Connect the Turntable to Your System:
Using the appropriate cables, connect the turntable’s output to your amplifier or receiver. If your turntable lacks a built-in phono preamp, you’ll need an external phono preamp to boost the signal to line level.
7. Level the Turntable:
A level turntable ensures that the record spins evenly, preventing speed fluctuations and potential damage to the stylus. Use a bubble level to adjust the turntable’s feet until it is perfectly horizontal.
8. Fine-tune the Tonearm Balance:
With the tonearm unlocked, it should float freely and rest parallel to the platter. Adjust the counterweight until the tonearm achieves this neutral balance.
9. Test and Enjoy:
Place a record on the platter, lower the cue lever to gently drop the stylus onto the record, and start playback. Listen for any audible distortions or irregularities. If necessary, make minor adjustments to the VTF and anti-skate settings.
Additional Tips:
-
Regularly clean your records with a dedicated record cleaning solution and brush to remove dust and debris.
-
Replace your stylus when it shows signs of wear to prevent damage to your records.
-
Store your records upright in a cool, dry environment to prevent warping and damage.
-
Handle your records by their edges and avoid touching the grooves to prevent fingerprints and dirt accumulation.
By following these steps and guidelines, you’ll ensure that your turntable is set up correctly, allowing you to enjoy the rich, warm sound of vinyl records for years to come.


