
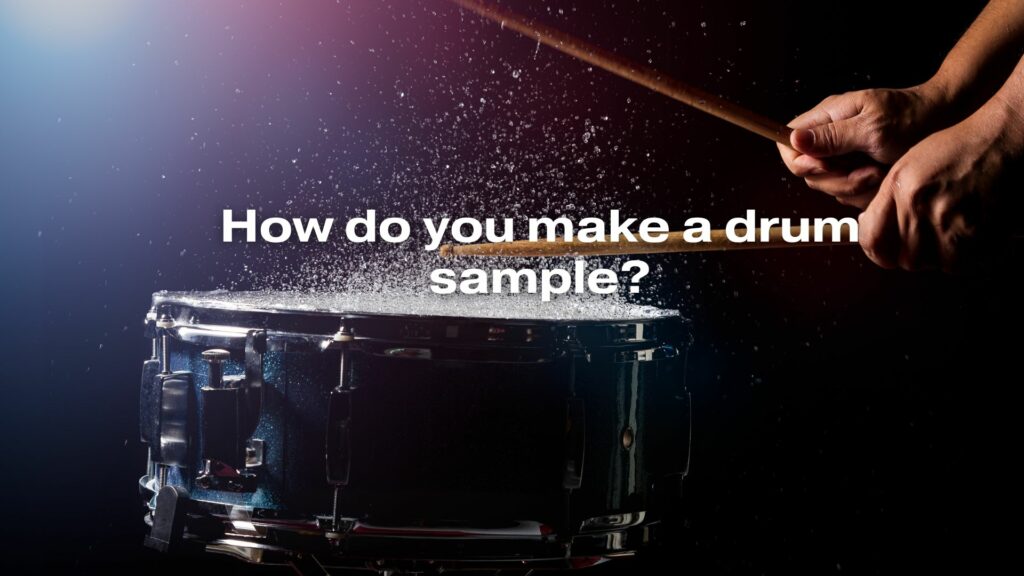
Drum samples are individual, isolated recordings of drum sounds that are often used in music production, whether you’re a drummer looking to capture a specific sound or a producer building a library of drum samples. Here’s a step-by-step guide on how to create a drum sample:
1. Choose the Drum Sound
Start by selecting the drum sound you want to sample. This could be a kick drum, snare drum, hi-hat, cymbal, or any other percussive element. The choice of drum and its characteristics will heavily influence the quality and usability of the sample.
2. Set Up Your Recording Environment
Before recording, prepare your recording environment. Make sure it’s quiet and free from background noise. Use acoustic treatment if necessary to reduce reflections and unwanted sounds.
3. Position Your Microphone
Place a high-quality microphone in front of the drum you’re sampling. The microphone’s position will depend on the drum type and the desired sound. Experiment with different microphone positions to capture various tonal qualities.
4. Use Proper Mic Techniques
To capture the best drum sample, employ proper microphone techniques. For example:
- Kick Drum: Place the microphone just inside the drum’s sound hole for a full sound, or closer to the beater head for more attack.
- Snare Drum: Position the microphone above the drumhead, pointed toward the center for a balanced sound, or toward the rim for a brighter sound.
- Hi-Hats or Cymbals: Position the microphone above or to the side, adjusting the angle to capture the desired sound.
5. Test and Set Levels
Before recording, perform a soundcheck to ensure that the microphone is picking up the drum sound accurately. Adjust the microphone’s placement and levels to avoid distortion or clipping while capturing the drum sample.
6. Record the Drum Hit
Once everything is set up, play the drum sound you want to sample. Strike the drum with consistent force and technique to ensure a clean and accurate recording. Record multiple takes to capture variations in dynamics and tonal characteristics.
7. Edit and Trim
After recording, import the audio file into your DAW (Digital Audio Workstation) or audio editing software. Trim the audio to isolate the drum hit you want to use as a sample. Remove any unwanted noise or silence.
8. Normalize and Process
Normalize the sample to ensure its peak amplitude is at an appropriate level, typically near 0 dB. You can also apply processing to shape the sound, such as EQ, compression, or filtering, to achieve the desired tonal quality.
9. Save and Format
Save the drum sample in a suitable audio format, such as WAV or AIFF, which are common choices for high-quality samples. You may also consider creating variations of the sample at different velocities or with different processing for added flexibility.
10. Organize and Label
Keep your drum samples well-organized by creating a clear naming convention and categorizing them by type and sound. This makes it easier to access and use your samples in your music production projects.
11. Create Velocity Layers (Optional)
If you’re creating a drum kit, consider creating velocity layers for dynamic playback. Record the same drum hit at different force levels to simulate the dynamics of a live performance.
12. Test in Your DAW
Import the drum sample into your DAW and test it within a drum sampler or drum machine to ensure it sounds as intended and works well in your music production.
In conclusion, creating a drum sample involves selecting the drum sound, setting up the recording environment, capturing the sound with proper microphone techniques, and post-processing to shape the sample. Well-crafted and organized drum samples can be valuable additions to your music production toolbox and can enhance the rhythmic elements of your tracks.
