
Nothing ruins the look of a vehicle more than a scratched up and faded screen. No matter how nice your golf cart might look, a scratched up windshield will both make your cart look bad and also make it hard for you to look through it as you drive around.
That’s why we’re here to guide you through the process of figuring out exactly how to get your windshield back to tip top condition. As a caveat, we would like to note that actually getting your screen looking how it did on day of purchase is going to take a lot more tools and effort than what we’ll be covering here. These methods won’t be too helpful in the case of deep scratches too; ones that will catch your finger nail as you run them over the area. In such cases where you have multiple deep scratches that obscure your vision, you might have to consider getting a full on replacement.
However, with that being said, the methods we’ll be covering here are fairly simple and easy to carry out. You can find the necessary items like the Novus polishing solvent fairly easily.
But first, you need to know what you’re dealing with. The average golf cart windshield is one that’s made of either acrylic or polycarbonate. Both, being some form of plastic, can be fixed with the same set of tools. However, the key difference between them is that polycarbonate is a softer material than acrylic.
Whatever technique you end up using needs to take that in mind. Any solvent you end up using or movements made on polycarbonate has to be done more carefully, lest you deal more damage instead! Plus, make sure you use softer and clean cloths or you’ll end up making more scratches instead. There’s many a horror story out there of people sending their items to service shops that do bad jobs of messing up windshields by polishing them with the wrong tools, so be careful!
Tools you’ll need to do remove your golf cart’s scratches
Before you start, make sure to have these on hand. While your windshield was made to be fairly durable, buffing out any scratches is a kind of delicate undertaking. Using the wrong solvent or a cloth that’s too rough can really mess up your windshield even more.
- Soft and clean cloths – 3 or more are good. The E-Cloth Microfiber Polishing cloth is a good choice. Once again, make sure they’re completely clean of any dirt that might create more scratches
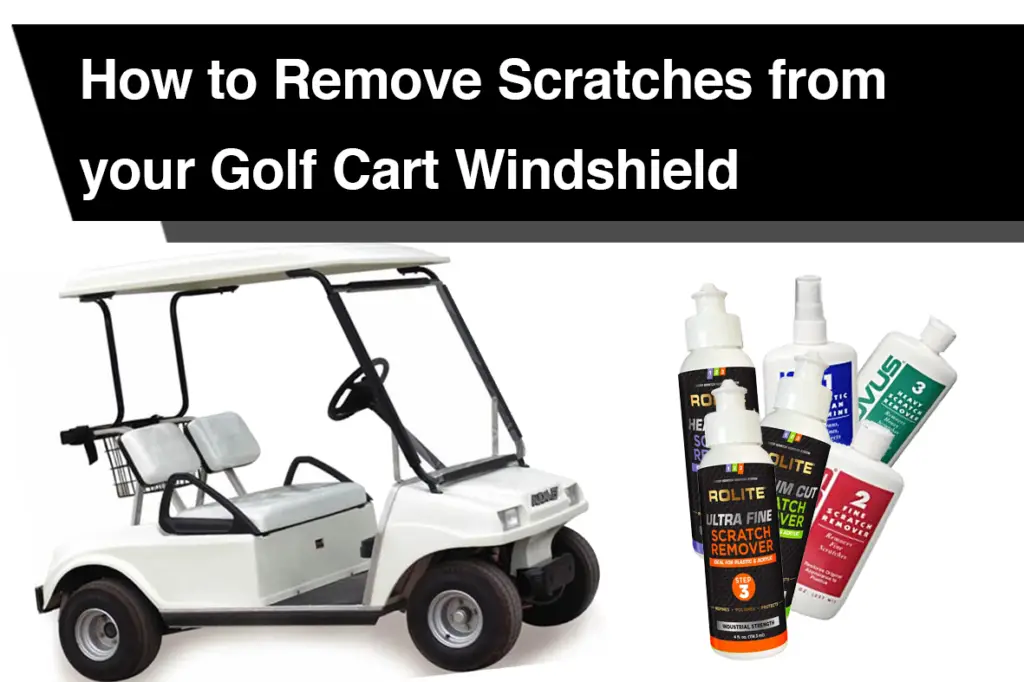
- Scratch removal solvent – There are 2 that come highly recommended out on the market right now: 1) Rolite Scratch Removal Solvent and 2) Novus Plastic Clean & Shine. Both are three step solvents, so applying them is mostly the same process.
- Buffing Tool (Optional) – Something like the WorkPro Buffer Polisher or the Black & Decke Random Orbit Waxer works great. They aren’t necessary, but can help achieve a polish that’s closer to ‘as good as new’ as can be. We’ve added this in case you already have your own similar tool for waxing your golf cart since they can easily take on buffing implements to help.
The Process
First off, if you’ve got your buffing tool on hand, you can get to work on smoothing out the windshield with it first. Make sure the buffing implement is clean, or ideally new. This will ensure that the first stage of buffing smoothens out any imperfections that may have been created by the scratch and levels the surface of the windshield.
Next, start applying the polishing solvent. Dab a small amount (even less on the polycarbonate) and start applying the first of the 3 to the scratched areas. If you bought the Rolite set, you’ll find that the order in which you’ll be applying the solvent is laid out on the bottles as each of them indicate the step at which they should be taken. But for Novus, take note that the numbers are in reverse order. #3 is the very first, followed by #2 and #1 for Novus sine they’re ordered from a more aggressive agent, to the last protective polishing layer.
Do make sure that whatever cloths and wiping tools used are all clean and soft, you won’t want your solvents to be weakened by some other material that only makes this process drag out longer than needed. And once again, be soft with the polycarbonate. If in doubt, take it easy. You’d really rather be patient with the polishing process than regret making your own mess!
Check out the polishing liquid application process in the following video. You’ll get a better idea of what you need to do and how it’ll look so that the polishing and scratch removal process goes as smoothly as possible so your golf cart’s windshield looks as good as can be.
We hope we managed to answer your questions! It’s always a shame having to fix scratches up, but it helps to know what you’re doing. In your search, you may have come across other ways to remove golf cart scratches like vapour polishing or even chemical polishing. These can be a bit more difficult to those new to the process of polishing, and need special protective gear to do properly and safely. You’ll find that the ones here have great track record and are a lot more simple to execute, plus the solvents also work to provide some protection to further scratching in the future!