
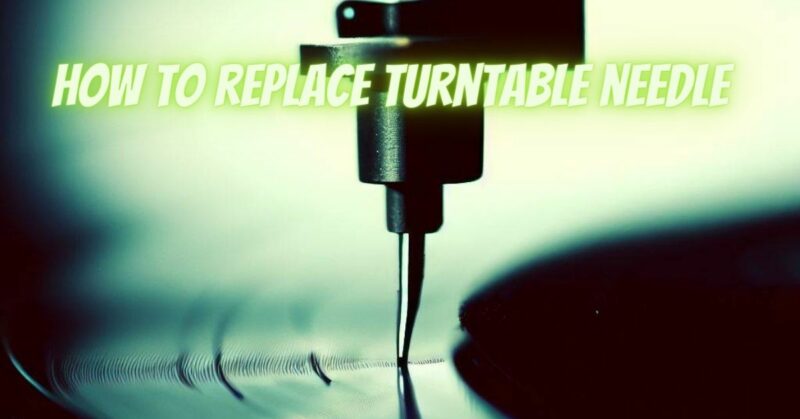
The turntable needle, also known as the stylus, is a critical component that directly contacts the grooves of your vinyl records, enabling the accurate playback of sound. Over time, the needle can wear out due to regular use, impacting the audio quality and potentially damaging your cherished vinyl collection. In this step-by-step guide, we will walk you through the process of replacing a turntable needle to ensure optimal performance and longevity of your turntable setup.
Step 1: Gather the Necessary Tools:
Before you begin the replacement process, gather the following tools:
- New turntable needle/stylus compatible with your cartridge.
- Tweezers or needle-nose pliers (if required for needle removal).
- User manual or cartridge documentation (for reference, if available).
Step 2: Power Off and Disengage the Turntable:
To avoid any accidents or damage, ensure that your turntable is powered off and disconnected from the power source. Lift the tonearm and place it on its rest or secured position to disengage it from the record and protect the stylus during the replacement process.
Step 3: Identify the Cartridge and Needle Type:
Examine the cartridge to determine the specific type and model number. This information is typically printed on the cartridge housing or can be found in the turntable’s user manual. Ensure that the replacement needle you have is compatible with your cartridge.
Step 4: Remove the Old Needle:
Depending on the cartridge design, there are typically two methods for removing the old needle:
a) Detachable Needle: If your cartridge has a detachable needle assembly, locate the locking mechanism or clip that holds the needle in place. Gently release the mechanism and carefully remove the old needle from the cartridge.
b) Non-Detachable Needle: If your cartridge has a non-detachable needle, you will need to replace the entire cartridge. Follow the manufacturer’s instructions specific to your turntable model to remove the old cartridge. Then, proceed to Step 5 for installing the new cartridge with a needle.
Step 5: Install the New Needle or Cartridge:
a) Detachable Needle: Align the new needle with the cartridge’s mounting pins or slots, ensuring a snug fit. Apply gentle pressure and carefully insert the needle into the cartridge, making sure it is securely attached. Use tweezers or needle-nose pliers if necessary, taking care not to damage the delicate components.
b) Non-Detachable Needle: Align the new cartridge with the tonearm mount or headshell. Follow the manufacturer’s instructions for securing the cartridge, ensuring a tight connection. Make sure the stylus is correctly oriented to align with the record grooves.
Step 6: Test and Fine-Tune:
Once the new needle or cartridge is installed, carefully lower the tonearm onto a record. Confirm that the stylus is tracking properly and that the sound is clear and balanced. If necessary, adjust the tracking force and anti-skate settings according to the manufacturer’s recommendations and your turntable’s specifications.
Step 7: Clean and Maintain the Stylus:
Regularly clean your stylus to ensure optimal performance and prevent build-up of dust and debris. Use a stylus brush or a dedicated stylus cleaning solution to gently remove any residue. Follow the recommended cleaning instructions provided by the stylus manufacturer.
Conclusion:
Replacing a turntable needle is a straightforward process that can significantly improve the sound quality and longevity of your vinyl records. By following these step-by-step instructions and taking care during the replacement process, you can ensure a seamless transition to a new needle or cartridge and enjoy an enhanced listening experience with your turntable setup.