
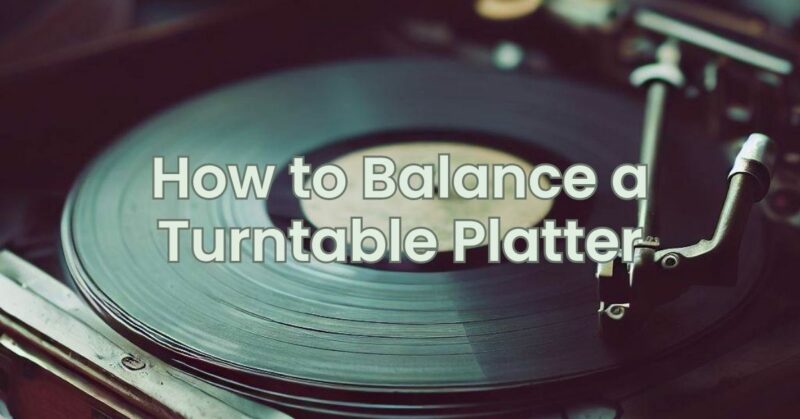
Balancing a turntable platter is a vital step in maintaining optimal performance and preventing unnecessary wear on your vinyl records. When the platter is properly balanced, it ensures smooth rotation, reduces vibration, and allows the stylus to track the grooves accurately. In this article, we will guide you through the process of balancing a turntable platter, ensuring a stable and enjoyable listening experience.
Step-by-Step Guide to Balancing a Turntable Platter:
Step 1: Prepare Your Turntable
Before you start balancing the platter, make sure you have the following tools ready:
- Turntable with a removable platter
- Level surface for your turntable
- Platter mat (if applicable)
Step 2: Remove the Platter
If your turntable has a removable platter, carefully lift it off the spindle and set it aside. Check if there are any belts or drive mechanisms that need to be detached before removing the platter.
Step 3: Check the Level Surface
Place your turntable on a level surface to ensure accurate balance. Uneven surfaces can affect the platter’s stability and cause playback issues.
Step 4: Inspect the Platter and Spindle
Examine the platter and spindle for any dirt, dust, or debris that may affect the balance. Clean them if necessary using a soft, lint-free cloth.
Step 5: Reinstall the Platter
Align the spindle with the hole in the center of the platter and gently place the platter back onto the turntable. Ensure that it sits securely on the spindle.
Step 6: Observe the Platter
Observe the platter for any signs of imbalance, such as wobbling or tilting. A balanced platter should rotate smoothly without any noticeable deviations.
Step 7: Adjust the Platter Balance
To adjust the platter balance, follow these steps:
a. Locate the adjustment mechanism on your turntable. This can vary depending on the model and manufacturer. It may involve adjusting screws, springs, or other mechanisms.
b. Begin by loosening the adjustment mechanism slightly to allow for movement.
c. Gently rotate the platter by hand and observe its behavior. If you notice any wobbling or tilting, adjust the mechanism accordingly to correct the balance.
d. Make small adjustments and test the platter’s balance repeatedly until it rotates smoothly without any noticeable deviations.
Step 8: Repeat the Process
If necessary, repeat the adjustment process until the platter is perfectly balanced. Take your time and make gradual adjustments to achieve the desired balance.
Step 9: Test and Fine-Tune
Once you have balanced the platter, test it by spinning it manually or using the turntable’s motor. Observe the rotation and listen for any irregularities. Fine-tune the balance further if needed until you achieve a stable and smooth rotation.
Balancing a turntable platter is crucial for ensuring accurate playback and prolonging the life of your vinyl records. By following the step-by-step guide outlined in this article, you can achieve a properly balanced platter, minimizing vibration, and providing an optimal listening experience. Remember to consult your turntable’s manual for any specific instructions or adjustments unique to your model. Enjoy your vinyl collection with confidence and precision!
