
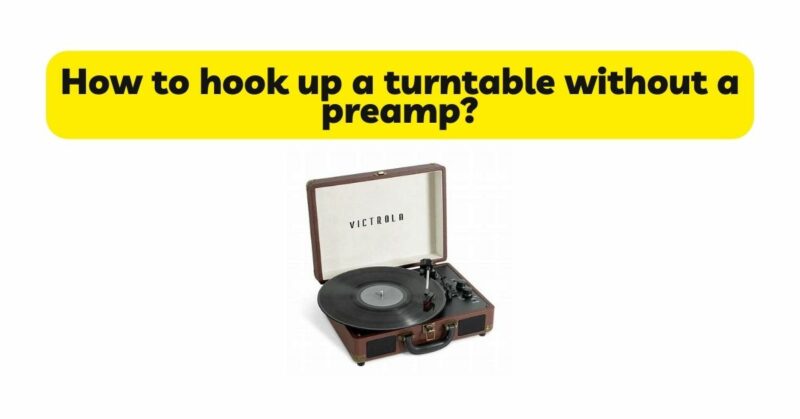
Vinyl records have experienced a resurgence in popularity, captivating music lovers with their warm, analog sound. If you’ve recently acquired a turntable without a built-in preamp, you may be wondering how to properly set it up and enjoy your vinyl collection. Fortunately, connecting a turntable without a preamp is a straightforward process that can be accomplished with a few simple steps. In this article, we will guide you through the process of hooking up a turntable without a preamp, ensuring that you can experience the full richness of your vinyl records.
- Understanding the Role of a Preamp: Before we delve into the setup process, it’s essential to understand the function of a preamp. A preamp, or preamplifier, amplifies the weak signal produced by a turntable’s cartridge, boosts it to a line-level signal, and applies the necessary equalization to reproduce the sound accurately. Some turntables come with a built-in preamp, while others require an external preamp to connect to audio systems or powered speakers.
- Choosing an External Phono Preamplifier: To connect a turntable without a built-in preamp, you will need an external phono preamplifier. These devices are specifically designed to amplify the low-level phono signal and provide the necessary equalization. When selecting a phono preamp, consider factors such as quality, compatibility with your turntable, adjustable gain settings, and connectivity options. It’s worth investing in a reliable preamp to ensure optimal sound quality.
- Locating the Line-Level Outputs on Your Turntable: Begin by locating the line-level outputs on your turntable. These outputs may be labeled as “line,” “line out,” or “audio out.” They typically consist of two RCA jacks, one for the left channel and one for the right channel. Ensure that your turntable has these line-level outputs before proceeding.
- Connecting the Turntable to the Phono Preamplifier: Take the RCA cables included with your turntable and connect one end to the line-level outputs on the turntable. The left channel RCA cable should be connected to the left line-level output, and the right channel RCA cable to the right line-level output.
Next, connect the other end of the RCA cables to the corresponding inputs on the phono preamplifier. The phono preamp will have labeled inputs for left and right channels. Ensure a secure and snug connection for optimal sound transmission.
- Connecting the Phono Preamplifier to your Audio System or Powered Speakers: Once the turntable is connected to the phono preamp, you can now connect the preamp to your audio system or powered speakers.
For audio systems with an integrated amplifier or receiver:
- Locate the “phono input” on your amplifier or receiver.
- Connect RCA cables from the “line output” or “output” of the phono preamp to the “phono input” on the amplifier or receiver.
- Make sure to match the left and right channels accordingly.
For powered speakers or active monitors:
- Determine the type of input your speakers have. This can be RCA, 3.5mm, or even XLR inputs.
- Connect the appropriate cables from the “line output” or “output” of the phono preamp to the input on the speakers.
- Again, ensure correct channel connections.
- Adjusting Gain Settings and Testing the Setup: Some phono preamps offer adjustable gain settings to optimize the signal strength. Consult the user manual of your phono preamp to understand how to adjust the gain settings if necessary. It’s essential to set the gain at an appropriate level to prevent distortion or excessive volume.
Once the connections are complete, power on your audio system or powered speakers and start playing a record on your turntable. Gradually increase the volume to a comfortable listening level and ensure that the sound is balanced and clear from both speakers.
- Fine-Tuning and Troubleshooting: If you encounter any issues such as low volume, distorted sound, or hum, consider the following troubleshooting steps:
- Ensure all connections are secure and properly seated.
- Verify that the gain settings on the phono preamp are correctly adjusted.
- Check that the cartridge is properly aligned and the stylus is in good condition.
- Keep the turntable away from sources of electromagnetic interference, such as Wi-Fi routers or speakers.
- Expanding and Customizing Your Setup: Once your turntable is successfully connected without a preamp, you can further customize and expand your setup. Consider adding accessories like isolation pads or shelves to reduce vibrations and improve sound quality. Additionally, explore different cartridge options or upgrade your speakers to enhance your listening experience.
Conclusion: Hooking up a turntable without a preamp is a relatively straightforward process that allows you to enjoy your vinyl collection with precision and clarity. By selecting a suitable external phono preamplifier, making secure connections, adjusting gain settings, and troubleshooting any potential issues, you can unleash the full potential of your turntable and revel in the nostalgic beauty of vinyl playback. So, gather your favorite records, follow these steps, and immerse yourself in the captivating world of vinyl music.
