
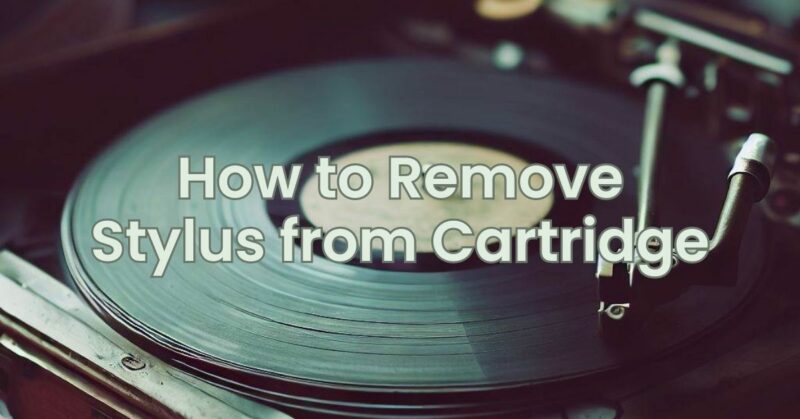
Removing a stylus from a cartridge is a delicate procedure that requires precision and care to prevent damage to the stylus, cartridge, and your vinyl records. Whether you’re replacing a worn stylus or upgrading to a new one, understanding the proper technique is essential. In this article, we will provide a step-by-step guide on how to safely remove a stylus from a cartridge, ensuring a smooth and successful process.
Step 1: Gather the Necessary Tools Before starting the removal process, gather the following tools:
- Clean, lint-free cloth
- Fine-pointed tweezers or stylus removal tool (if provided with the cartridge)
- A magnifying glass or microscope (optional, but helpful for close inspection)
Step 2: Create a Clean Workspace Ensure you have a clean and well-lit workspace to perform the stylus removal. This will minimize the risk of dropping or misplacing small components and allow you to see the stylus and cartridge clearly.
Step 3: Handle the Cartridge Carefully Hold the cartridge gently by its body, avoiding any pressure on the stylus. Cartridges are delicate and sensitive, so handling them with care is crucial to prevent accidental damage.
Step 4: Inspect the Stylus and Cartridge Using a magnifying glass or microscope, inspect the stylus and cartridge for any visible signs of wear or damage. This examination will help you identify any potential issues and determine if a replacement is necessary.
Step 5: Release the Stylus from the Cartridge If your cartridge includes a stylus removal tool, follow the manufacturer’s instructions to release the stylus. These tools are specifically designed to safely detach the stylus from the cartridge.
If you don’t have a stylus removal tool, carefully use fine-pointed tweezers instead. Gently grasp the rear part of the stylus assembly, where it connects to the cartridge body. Apply minimal pressure and lift the stylus straight up and away from the cartridge, ensuring a smooth and controlled motion.
Step 6: Inspect the Stylus After Removal Once the stylus is detached, examine it closely for any signs of damage, such as a bent or worn-down diamond tip. This inspection will help determine if a replacement stylus is required.
Step 7: Clean the Stylus and Cartridge Using a clean, lint-free cloth, carefully wipe the stylus and cartridge to remove any dust, debris, or residual contaminants. Ensure that no fibers or particles are left behind, as they can affect the performance of the new stylus.
Step 8: Replace or Install a New Stylus If you are replacing the stylus, follow the manufacturer’s instructions or consult the stylus replacement guide for your specific cartridge model. Align the new stylus with the cartridge body and gently press it into place. Take care not to apply excessive force or misalign the stylus during installation.
Step 9: Recheck Alignment and Tracking Force After replacing the stylus, recheck the alignment and tracking force settings to ensure optimal performance. Use the manufacturer’s guidelines or consult a professional if needed to ensure accurate tracking and minimize the risk of record damage.
Removing a stylus from a cartridge requires patience, precision, and a steady hand. By following this step-by-step guide and exercising caution throughout the process, you can safely remove a stylus from a cartridge and prepare for a replacement or upgrade. Remember to handle the cartridge delicately, inspect the stylus and cartridge for any visible damage, clean the components properly, and follow the manufacturer’s instructions for stylus replacement. With proper technique, you can maintain the integrity of your vinyl playback system and enjoy a pristine listening experience.