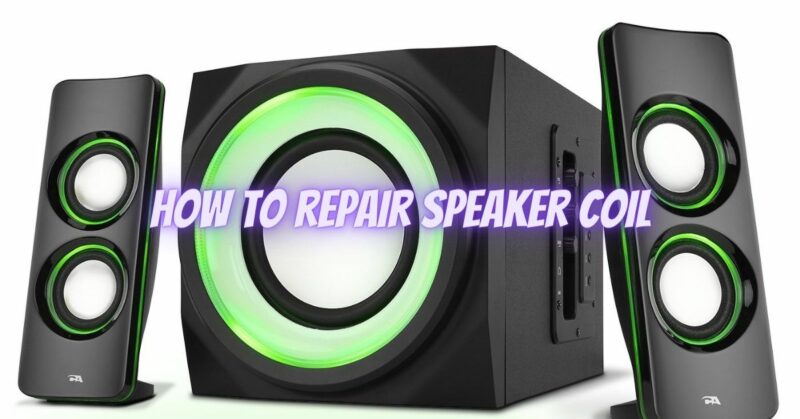
The speaker coil, also known as the voice coil, is a crucial component of a speaker that converts electrical signals into sound vibrations. Over time, the speaker coil may become damaged or develop issues that affect audio performance. In this article, we will explore the steps involved in repairing a speaker coil, helping you restore optimal sound reproduction and extend the lifespan of your speakers.
Note: Repairing a speaker coil can be a complex task and may require advanced technical knowledge and experience. If you’re unsure or uncomfortable with the process, it is recommended to consult a professional audio technician or speaker repair service.
- Assess the Damage:
Carefully inspect the speaker coil for visible signs of damage, such as burnt or melted areas, broken wires, or loose connections. Ensure that the damage is isolated to the coil and does not extend to other components of the speaker.
- Remove the Damaged Coil:
To repair the speaker coil, it is usually necessary to remove the damaged coil from the speaker assembly. The exact process may vary depending on the speaker design, but it typically involves the following steps:
a. Disconnect the speaker from the amplifier or receiver and remove it from the enclosure or cabinet. b. Carefully remove the speaker cone or diaphragm, taking note of any adhesive or mounting screws that secure it in place. c. Locate and detach the damaged coil from the speaker’s frame or magnet assembly. This may involve removing retaining clips, screws, or adhesive bonds.
- Replace the Coil:
Once the damaged coil is removed, the next step is to replace it with a new coil. Follow these general guidelines:
a. Obtain a replacement coil that matches the specifications of the original coil in terms of size, impedance, and wire gauge. Consult the speaker’s manufacturer or a reputable speaker repair supplier for assistance in finding the correct replacement.
b. Carefully attach the new coil to the speaker’s frame or magnet assembly using the appropriate method specified by the manufacturer. This may involve soldering, adhesive bonding, or other techniques.
c. Take care to ensure proper alignment and positioning of the coil, as this will affect sound quality and performance. Refer to the speaker’s documentation or seek professional guidance if needed.
- Reassemble the Speaker:
With the new coil securely in place, reassemble the speaker following these steps:
a. Reattach the speaker cone or diaphragm, ensuring proper alignment and tension. Use the manufacturer’s recommended method for mounting, whether it involves adhesive bonding or screws.
b. Reconnect any wiring or terminal connections according to the original configuration.
c. Place the speaker back into the enclosure or cabinet, ensuring it is properly secured and positioned.
- Test and Fine-Tune:
Once the speaker is reassembled, reconnect it to the amplifier or receiver and conduct a thorough audio test. Listen for any abnormalities, such as distortion, buzzing, or imbalanced sound. If necessary, fine-tune the speaker’s settings or consult a professional to ensure optimal audio performance.
Conclusion:
Repairing a speaker coil requires careful assessment, removal of the damaged coil, replacement with a new coil, and precise reassembly. It is important to exercise caution and follow the specific guidelines provided by the speaker’s manufacturer or seek professional assistance. Properly repaired speaker coils can restore optimal sound reproduction and extend the lifespan of your speakers, allowing you to continue enjoying high-quality audio.

