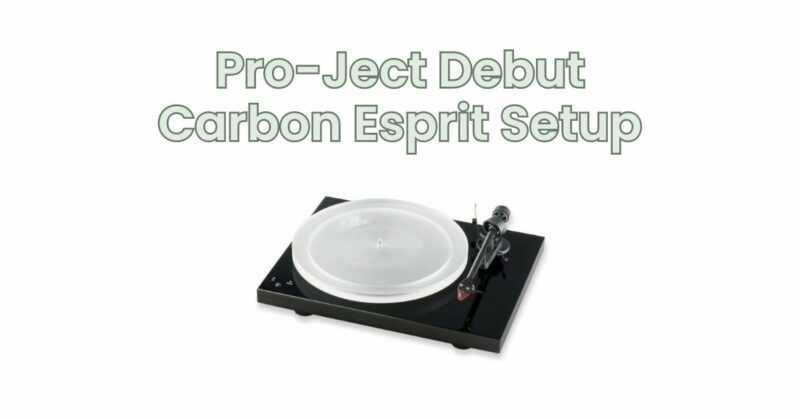
The Pro-Ject Debut Carbon Esprit turntable is a popular choice among vinyl enthusiasts, offering exceptional sound quality and an array of features in a sleek and stylish package. Properly setting up your Debut Carbon Esprit is essential to ensure optimal performance and maximize your vinyl listening experience. In this article, we will provide a step-by-step guide on how to set up your Pro-Ject Debut Carbon Esprit turntable, covering everything from unboxing to cartridge alignment and tonearm balancing.
Step 1: Unboxing and Inspection Carefully unpack your Pro-Ject Debut Carbon Esprit turntable and inspect all the components. Ensure that there are no visible signs of damage during shipping. Take note of the included accessories, such as the dust cover, power supply, and user manual.
Step 2: Plinth and Motor Assembly Place the turntable’s plinth on a stable and level surface. Attach the motor assembly to the designated area on the plinth, following the manufacturer’s instructions. Make sure the motor is securely fastened.
Step 3: Platter Installation Carefully place the platter on the spindle, ensuring it sits evenly. The platter should rotate smoothly without any wobbling. If necessary, adjust the positioning until it is centered.
Step 4: Belt Installation Locate the belt in the packaging. Wrap it around the motor pulley and the platter’s sub-platter, ensuring a snug fit. Take care not to stretch or twist the belt excessively.
Step 5: Tonearm Installation Attach the counterweight to the rear of the tonearm, aligning it with the markings for the recommended tracking force. Slide the tonearm into its bearing, gently securing it in place. Ensure the tonearm moves freely without any resistance.
Step 6: Cartridge Mounting and Alignment If the cartridge is not pre-installed, carefully mount it to the end of the tonearm following the manufacturer’s instructions. Use a protractor or alignment tool to align the cartridge properly, ensuring the stylus is parallel to the grid lines.
Step 7: Anti-Skate Adjustment Adjust the anti-skate mechanism on the tonearm according to the manufacturer’s specifications. This helps ensure proper tracking and minimizes unwanted lateral forces on the stylus.
Step 8: Tracking Force Adjustment Set the tracking force by adjusting the counterweight. Consult the cartridge’s recommended tracking force and adjust the counterweight accordingly. Use the tonearm’s tracking force dial to set the desired value.
Step 9: Tonearm Balancing With the turntable powered off, carefully balance the tonearm using the tonearm lift mechanism. The tonearm should float parallel to the platter without touching the surface. Adjust the counterweight if necessary to achieve proper balance.
Step 10: Phono Preamp Connection If your amplifier or receiver does not have a built-in phono preamp, connect the turntable’s audio cables to an external phono preamp. Ensure the grounding wire is properly connected to eliminate any potential hum or interference.
Step 11: Power Connection and Testing Connect the turntable’s power supply to a suitable power outlet. Power on the turntable and test its functionality. Check that the platter spins smoothly and the tonearm responds to commands correctly.
Conclusion: Setting up your Pro-Ject Debut Carbon Esprit turntable correctly is crucial for optimal performance and audio quality. By following these step-by-step instructions, you can ensure a proper setup, from unboxing to cartridge alignment and tonearm balancing. Take your time during the setup process and refer to the manufacturer’s manual for any specific instructions related to your model. Once your Pro-Ject Debut Carbon Esprit is set up, sit back, relax, and enjoy the rich and immersive sound of your vinyl collection.


