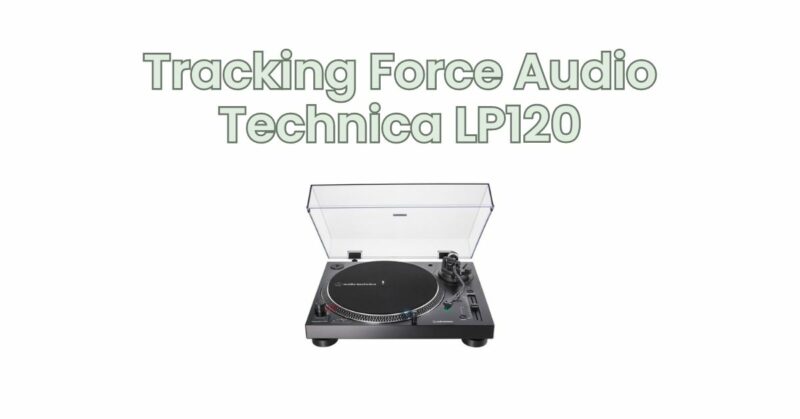
The Audio Technica LP120 turntable is known for its professional-grade features and exceptional sound quality. To ensure accurate tracking and preserve the lifespan of your records, it is crucial to properly adjust the tracking force—the downward pressure exerted by the stylus on the record surface. In this article, we will explore the importance of tracking force, explain how it affects playback, and guide you through the process of adjusting the tracking force on your Audio Technica LP120 turntable.
Understanding Tracking Force: Tracking force refers to the amount of pressure applied by the stylus on the record surface. It is vital to maintain an appropriate tracking force to achieve optimal sound quality, minimize distortion, and prevent unnecessary wear on both the stylus and your precious vinyl records.
Adjusting Tracking Force on the LP120: To adjust the tracking force on your Audio Technica LP120 turntable, follow these steps:
- Gather the Necessary Tools: Before making any adjustments, gather the necessary tools. You will need a stylus force gauge or a tonearm scale, which allows for precise measurement of the tracking force.
- Locate the Tracking Force Adjustment Mechanism: On the LP120, the tracking force adjustment mechanism is located on the rear side of the turntable’s tonearm. It is typically a counterweight that can be rotated to adjust the force applied by the stylus.
- Zero the Counterweight: Start by ensuring that the counterweight is set to zero or neutral. Gently rotate the counterweight until it is aligned with the marked “zero” or “neutral” position.
- Determine the Recommended Tracking Force: Refer to the LP120’s user manual or the manufacturer’s specifications to find the recommended tracking force range for your particular stylus/cartridge combination. The LP120 typically comes with an AT95E cartridge, which typically requires a tracking force within the range of 1.5 to 2.5 grams.
- Adjust the Tracking Force: Using the stylus force gauge or tonearm scale, carefully adjust the counterweight by rotating it until the desired tracking force value is achieved. Rotate the counterweight in the appropriate direction (usually clockwise) to increase the force or counterclockwise to decrease it. Make small adjustments, checking the force measurement after each adjustment, until you reach the desired tracking force within the recommended range.
- Recheck and Fine-Tune: Once you have set the tracking force, double-check the reading with the stylus force gauge or tonearm scale to ensure accuracy. It is also a good practice to fine-tune the tracking force by making slight adjustments based on your personal preference and the condition of your records.
- Test and Verify Performance: After adjusting the tracking force, play a record and listen carefully to the sound quality. Pay attention to any distortion, skipping, or excessive surface noise. If you encounter any issues, it may be necessary to re-evaluate and readjust the tracking force accordingly.
Conclusion: Proper tracking force adjustment is crucial for maintaining the quality of your vinyl playback on the Audio Technica LP120 turntable. By understanding the importance of tracking force, following the recommended range for your specific stylus/cartridge combination, and using a stylus force gauge or tonearm scale, you can achieve optimal performance and extend the lifespan of your records and stylus.
Remember to make incremental adjustments and regularly re-evaluate the tracking force, especially when changing cartridges or stylus. If you encounter any difficulties or have specific questions about tracking force adjustment for your LP120, consult the user manual or reach out to Audio Technica’s customer support for expert guidance.
By mastering the art of tracking force adjustment, you can fully appreciate the remarkable sound quality and immersive experience that the Audio Technica LP120 turntable offers with each vinyl playback.


