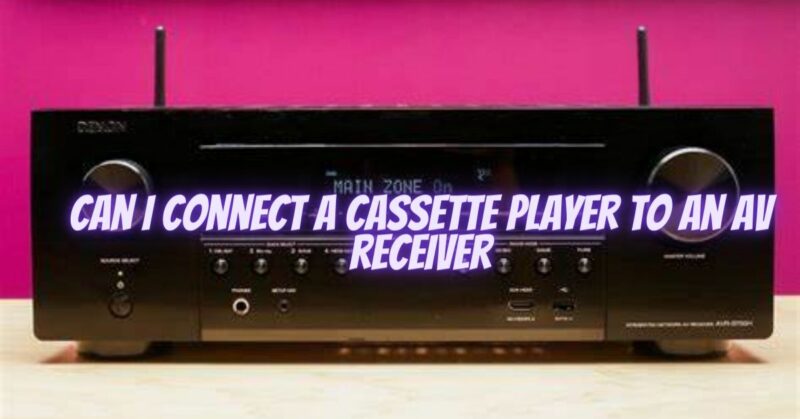
Cassette players may be considered nostalgic relics of the past, but many people still cherish their cassette tape collections and desire to listen to them through modern audio systems. If you own an AV receiver and want to connect a cassette player to it, you can bridge the gap between old and new technologies, allowing you to enjoy your favorite cassette tapes through your modern home audio setup. In this article, we will guide you through the process of connecting a cassette player to an AV receiver, revitalizing the joy of cassette tape listening in a modern context.
Connecting a Cassette Player to an AV Receiver:
- Identify the Audio Outputs on the Cassette Player: Examine your cassette player to locate the available audio output options. Common audio output connections on cassette players include RCA (red and white) connectors, a 3.5mm headphone jack, or an optical output. Identify the output that matches the available input options on your AV receiver.
- Locate the Audio Inputs on the AV Receiver: Inspect your AV receiver to identify the available audio input options. Common audio input connections on AV receivers include RCA, 3.5mm auxiliary, or digital optical inputs. Ensure that your AV receiver has an input that matches the output on your cassette player.
- Select the Appropriate Audio Cable: Choose the audio cable that matches the audio outputs on your cassette player and the audio inputs on your AV receiver. For example, if both devices have RCA connections, use an RCA-to-RCA cable. If your cassette player has a headphone jack, you can use a 3.5mm auxiliary cable with appropriate connectors on both ends. Alternatively, if your cassette player has an optical output, use an optical cable.
- Connect the Cassette Player to the AV Receiver: Once you have selected the appropriate audio cable, connect one end of the cable to the audio output on your cassette player and the other end to the corresponding audio input on your AV receiver. Ensure a secure connection by firmly plugging in the connectors.
- Select the Correct Input on the AV Receiver: On your AV receiver, select the audio input corresponding to the connection you made in the previous step. This can usually be done using the AV receiver’s remote control or front panel controls. Refer to your AV receiver’s user manual for specific instructions on selecting audio inputs.
- Playback and Adjust Audio Settings: With the cassette player connected to the AV receiver, insert a cassette tape into the player and press play. Adjust the volume and any other relevant audio settings on the AV receiver to your preferred levels. You should now hear the audio from the cassette tape through your AV receiver’s connected speakers.
Additional Considerations:
- If your cassette player has a variable line-out level control, set it to an appropriate level to ensure a balanced and distortion-free audio signal.
- Some cassette players may require separate power connections or batteries to operate. Ensure that the cassette player has sufficient power for playback.
Conclusion: Connecting a cassette player to an AV receiver allows you to revive the charm of cassette tape listening in a modern audio setup. By identifying the audio outputs on your cassette player, locating the corresponding audio inputs on your AV receiver, selecting the appropriate audio cable, and making the connections, you can seamlessly integrate your cassette player into your AV system. Enjoy the warmth and nostalgia of your favorite cassette tapes through the powerful and immersive sound of your AV receiver, relishing the fusion of retro and modern technologies.

