
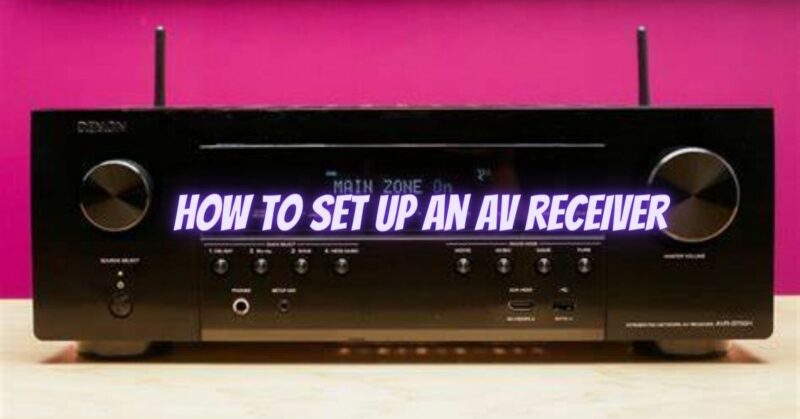
An AV receiver serves as the heart of your home theater system, powering and controlling your audio and video components. Properly setting up an AV receiver is essential to maximize its capabilities and ensure an immersive and enjoyable home theater experience. In this article, we will guide you through the step-by-step process of setting up an AV receiver, from unpacking and connections to audio calibration and configuration.
Step-by-Step Guide to Setting Up an AV Receiver:
- Unpack and Organize: Carefully unpack your AV receiver and its accessories, ensuring that you have all the necessary components, including the receiver unit, remote control, power cord, antennas, and any other included accessories. Find an ideal location for the receiver that provides sufficient ventilation and easy access for connections.
- Establish Power Connections: Connect the power cord to the AV receiver and plug it into a power outlet. Ensure that the outlet is easily accessible and can handle the power requirements of the AV receiver. Avoid using power strips or extension cords whenever possible to minimize potential electrical issues.
- Speaker Connections: Identify the speaker outputs on the back of the AV receiver. Each channel (front left, front right, center, surround, etc.) should have corresponding speaker terminals labeled accordingly. Connect each speaker’s positive and negative terminals to the corresponding channels on the AV receiver using appropriate speaker wires. Ensure that the connections are secure and that the polarity (+/-) is correct.
- Video Connections: Connect your video sources, such as Blu-ray players, gaming consoles, or streaming devices, to the AV receiver using HDMI cables. Locate the HDMI inputs on the back of the AV receiver and connect the HDMI output of each source device to an available HDMI input on the receiver. If your sources use other video connections (e.g., component or composite), connect them to the corresponding inputs on the AV receiver using compatible cables.
- Audio Connections: For audio sources, such as CD players, turntables, or media streamers, connect their audio outputs to the AV receiver’s audio inputs. Use appropriate cables (RCA, optical, coaxial) based on the available connections on both the AV receiver and the audio source.
- Network Connections: If your AV receiver supports network connectivity for streaming music, firmware updates, or other online services, connect it to your home network. Use an Ethernet cable to connect the AV receiver to your router or use the receiver’s built-in Wi-Fi capability to connect wirelessly.
- Audio Calibration and Configuration: Many AV receivers include automated audio calibration systems that optimize the audio performance for your room. Follow the instructions in your AV receiver’s user manual to run the calibration process, which usually involves placing a microphone in your listening position and allowing the receiver to analyze and adjust speaker settings, distance, levels, and equalization.
- Source Selection and Setup: Configure the AV receiver’s source selection settings to match your connected devices. Use the AV receiver’s user interface or remote control to navigate the menu and assign appropriate names and settings to each input source. This allows you to easily select and switch between different sources for seamless operation.
- Fine-Tuning and Personalization: Once the basic setup is complete, fine-tune the AV receiver’s settings to suit your preferences. Adjust audio parameters such as bass, treble, balance, and surround sound modes according to your listening environment and personal taste. Explore the receiver’s advanced features, including audio modes, multi-room capabilities, or network streaming options, to personalize your home theater experience.
Conclusion: Setting up an AV receiver is a crucial step in creating a captivating and immersive home theater environment. By carefully connecting speakers, video sources, audio devices, and network connections, and utilizing the AV receiver’s calibration and configuration features, you can unleash the full potential of your home theater system. Take the time to familiarize yourself with your AV receiver’s features and settings, as this will allow you to customize your audio and video experience, achieving audiovisual excellence and elevating your home entertainment to new heights.
