
The cartridge is a critical component of your turntable, responsible for converting the grooves on your vinyl records into electrical signals that can be amplified and reproduced as sound. Regular testing of your turntable cartridge ensures optimal performance and longevity, allowing you to enjoy your vinyl collection to the fullest. Here’s a comprehensive guide on how to test your turntable cartridge effectively.
1. Visual Inspection
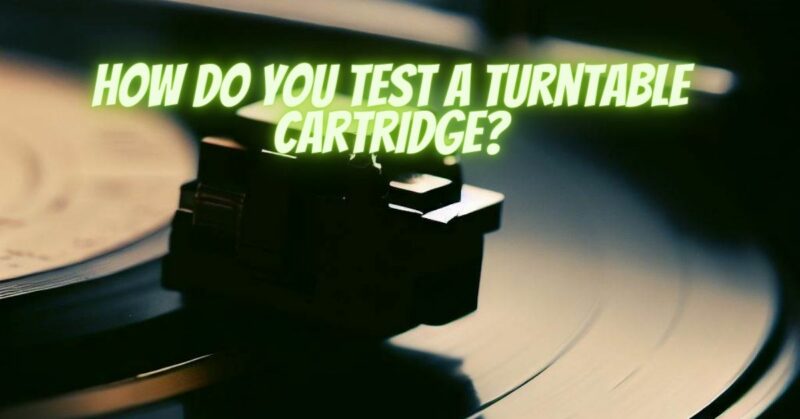
Begin by visually inspecting the cartridge for any visible signs of damage or wear. Look for the following:
- Stylus Condition: Check the condition of the stylus (needle) under magnification. Ensure that it is clean, straight, and free from any visible damage, such as bent or worn tips.
- Cartridge Body: Inspect the cartridge body for cracks, dents, or other physical damage that may affect its performance. Ensure that all connections and wiring are secure and intact.
- Alignment: Verify that the cartridge is properly aligned with the tonearm and aligned according to the manufacturer’s specifications. Misalignment can lead to tracking errors and compromised sound quality.
2. Tracking Force Measurement
Tracking force, also known as stylus pressure, refers to the downward pressure exerted by the stylus on the record surface. Incorrect tracking force can lead to excessive wear on your records and compromised sound quality. Here’s how to measure and adjust tracking force:
- Use a Tracking Force Gauge: Obtain a tracking force gauge, either a mechanical gauge or a digital scale designed for this purpose.
- Set the Tonearm Balance: Balance the tonearm horizontally using the tonearm’s counterweight. Adjust the counterweight until the tonearm floats freely in a horizontal position.
- Adjust Tracking Force: Set the tracking force according to the manufacturer’s recommended range for your cartridge. Use the tracking force gauge to measure the downward force exerted by the stylus on the gauge. Adjust the counterweight as needed until the desired tracking force is achieved.
3. Anti-Skate Adjustment
Anti-skate adjustment helps counteract the inward force exerted on the tonearm by the rotating record, ensuring that the stylus tracks the groove accurately. Follow these steps to adjust anti-skate:
- Use Manufacturer Guidelines: Consult the manufacturer’s instructions or specifications for your turntable to determine the recommended anti-skate setting for your cartridge.
- Adjust Anti-Skate Dial: Adjust the anti-skate dial or control on your turntable to match the recommended setting. This typically involves setting the anti-skate to the same value as the tracking force, although some turntables may require different adjustments.
4. Channel Balance and Channel Separation Test
Channel balance and channel separation refer to the evenness of sound reproduction between the left and right channels of your stereo system. Use a test record with dedicated channel balance and channel separation tracks to perform these tests:
- Channel Balance: Play the channel balance track and adjust the balance control on your amplifier or receiver until the sound is centered between the left and right speakers.
- Channel Separation: Play the channel separation track and listen for any crosstalk or bleed between the left and right channels. Proper channel separation ensures accurate stereo imaging and spatial reproduction.
5. Listening Tests
Finally, conduct listening tests using a variety of music recordings to evaluate the overall sound quality and performance of your turntable cartridge. Listen for clarity, detail, dynamics, and tonal balance across different musical genres and recording styles. Pay attention to any signs of distortion, sibilance, or tracking errors that may indicate cartridge issues.
Regular testing and maintenance of your turntable cartridge are essential for ensuring optimal performance and preserving the integrity of your vinyl records. By following these comprehensive testing procedures, you can identify and address any potential issues with your cartridge, allowing you to enjoy your vinyl collection with confidence and clarity for years to come. Remember to consult the manufacturer’s instructions and specifications for your specific turntable and cartridge model, and seek professional assistance if you encounter any difficulties or concerns during the testing process.