
Vinyl records have made a massive comeback, and for good reason—nothing beats their warmth, depth, and nostalgic charm. But unlike digital files, records are physical objects that can scratch, warp, or crack. The good news? Many common issues can be fixed with the right technique.
Whether you’re trying to save a treasured vintage find or keep your collection in top shape, here’s a complete guide on how to repair a vinyl record safely and effectively.
1. Assess the Damage First
Before touching anything, inspect your record under bright light.
Common issues include:
- Dust and dirt buildup
- Surface marks
- Light scratches
- Deep scratches
- Warping
- Cracks or chips
Not all damage is repairable—especially cracks or missing pieces—but cleaning and scratch-repair methods can dramatically improve sound quality.
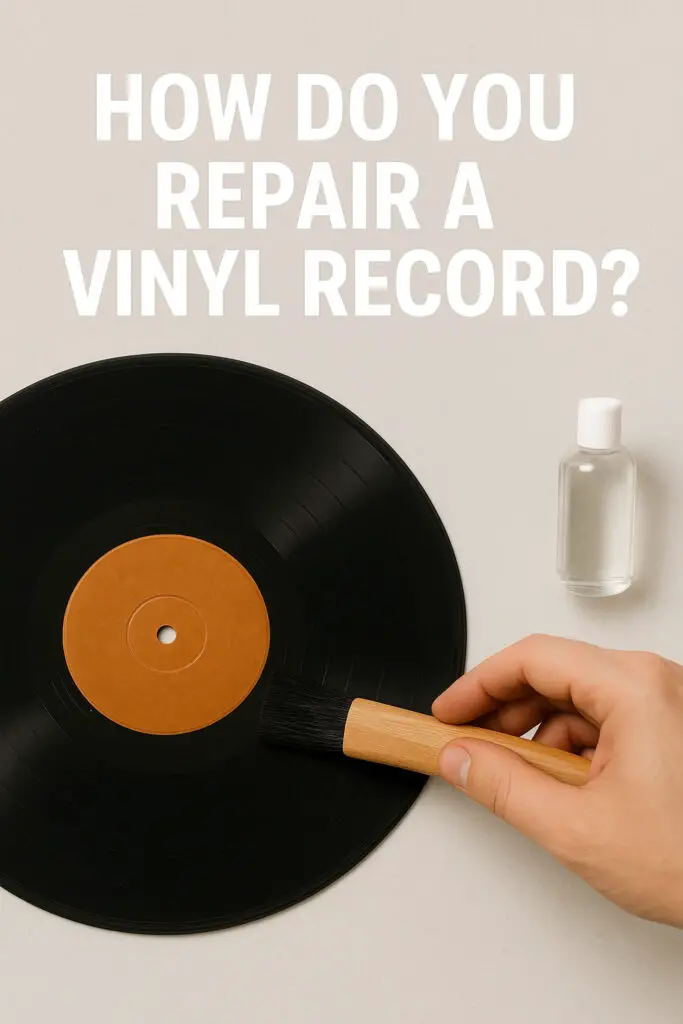
2. Cleaning: The First Step to Any Repair
Often, what sounds like “damage” is actually just dirt in the grooves.
You’ll Need:
- A carbon fiber brush
- Distilled water
- Mild record-cleaning solution
- Microfiber cloth
Steps:
- Hold the record by the edges.
- Brush in a circular motion following the grooves.
- Apply a few drops of cleaning solution.
- Gently wipe with a microfiber cloth.
- Let it air-dry vertically.
A clean record can eliminate pops, crackles, and distortion.
3. Fixing Light Scratches
Light surface scratches are common and usually repairable.
Method: Wood Glue Peel
This surprisingly effective technique removes debris deep inside grooves.
How it works:
- Spread a thin layer of PVA wood glue (Titebond II preferred) across the record surface—avoid the label.
- Let it dry for 8–12 hours until completely clear.
- Peel it off in one sheet.
This pulls out micro-particles and can significantly improve playback clarity.
4. Addressing Deeper Scratches
Deep scratches often cause repeating skips. While you can’t “heal” the vinyl, you can sometimes reduce the effect.
Micro-Groove Polishing (Advanced)
Only for experienced hobbyists
Using a very fine microsanding pad (e.g., 12000-grit) you can gently buff the surface with the groove direction, never across it. This can reduce the height of a damaged ridge causing the skip.
⚠️ Warning: Incorrect technique can permanently damage the record. Test on a cheap vinyl first.
5. Fixing Warped Records
Warping happens from heat or improper storage.
Method: The Glass Sandwich
- Place the record between two heavy, flat tempered glass panes.
- Put it in a cool oven (no heat!) and preheat to 65–70°C (150–160°F).
- Turn off the oven and let the record cool inside for several hours.
This gently presses the vinyl flat.
⚠️ Avoid temperatures above 70°C or the grooves may melt.
6. When a Record Is Not Repairable
Unfortunately, some damage is permanent:
- Cracks through the playing area
- Chipped edges that affect the groove path
- Severe groove wear from a damaged needle
- Warping that forms waves too large to flatten
In these cases, preservation—not repair—is the best option.
7. Prevent Future Damage
Proper care means fewer repairs:
- Store vertically, not flat
- Keep records in anti-static inner sleeves
- Avoid stacking
- Replace worn or dirty needles
- Keep your turntable balanced and clean
- Never touch the grooves with bare fingers
Final Thoughts
Repairing a vinyl record takes patience, care, and the right tools. While not every flaw can be reversed, many common issues—from scratches to warps—can be improved dramatically. With proper technique, you can extend the life of your favorite LPs and keep your collection sounding beautiful for years to come.