
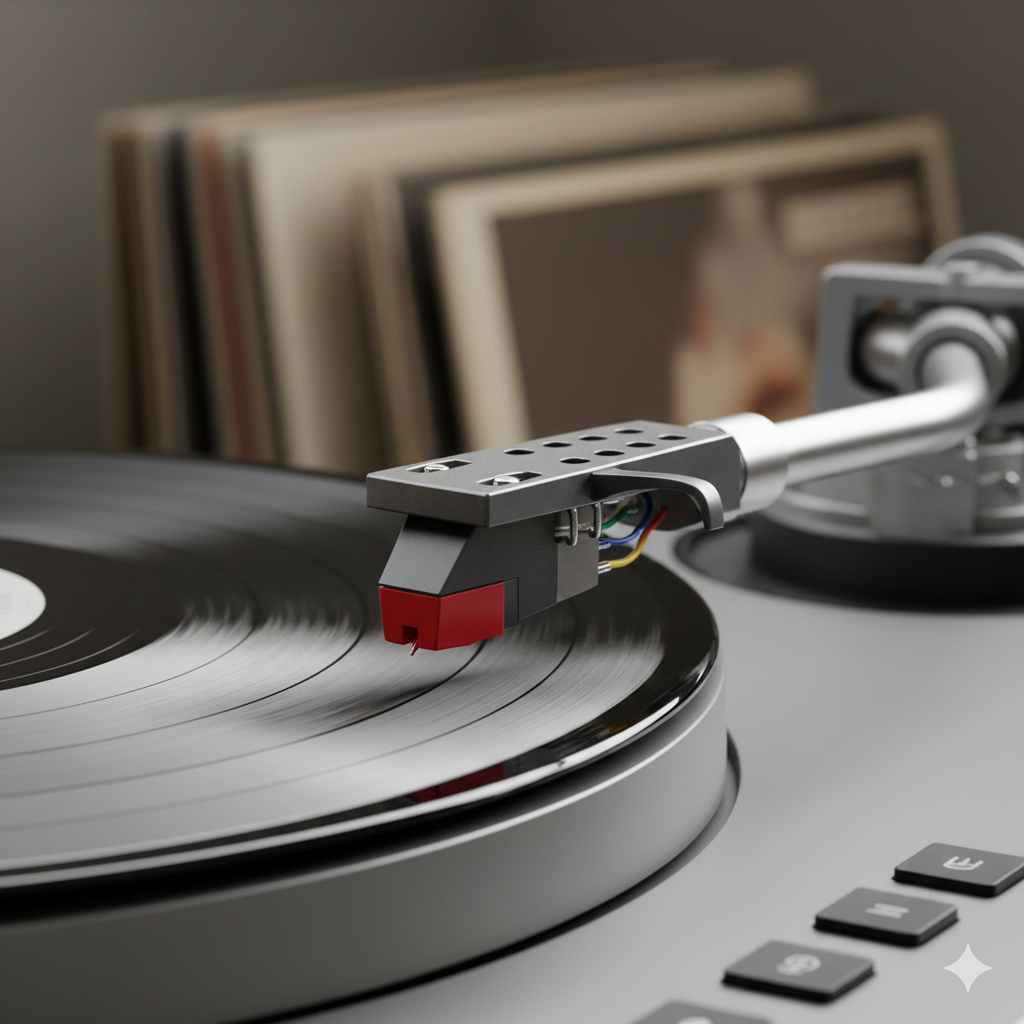
Proper cartridge alignment is one of the most effective ways to improve sound quality, reduce distortion, and protect your vinyl records—without spending any extra money. While it may seem intimidating at first, aligning a cartridge is a careful, methodical process that most listeners can do at home.
This step-by-step guide walks you through the process safely and accurately.
Why Cartridge Alignment Matters
Correct alignment ensures the stylus traces the record groove as accurately as possible across the entire side. Proper alignment:
- Reduces inner-groove distortion
- Improves clarity and stereo imaging
- Prevents uneven groove wear
- Extends stylus and record life
Even a high-end cartridge will underperform if alignment is incorrect.
What You’ll Need
Before you begin, gather these tools:
- Cartridge alignment protractor (printed or mirrored)
- Small screwdriver (non-magnetic preferred)
- Good lighting
- A steady surface and patience
💡 Tip: A printed Baerwald protractor works well for most tonearms.
Step 1: Power Off and Secure the Tonearm
- Turn off the turntable and unplug it
- Secure the tonearm or engage the cue lever
- Remove the stylus guard only when needed
Safety first—styli are fragile and expensive.
Step 2: Loosen the Cartridge Screws
- Loosen the mounting screws just enough to allow movement
- Do not remove the screws entirely
The cartridge should slide and rotate with gentle pressure.
Step 3: Place the Protractor on the Platter
- Place the protractor directly on the platter
- Ensure it lies flat and doesn’t move
- Rotate the platter so the stylus can reach the alignment points
Some users remove the belt or lock the platter to prevent movement.
Step 4: Align the First Null Point
- Carefully lower the stylus onto the first alignment point
- View from directly above
- Align the cartridge body (or cantilever) so it’s parallel with the grid lines
🎯 Focus on cantilever alignment if visible—it’s more accurate than using the cartridge body.
Step 5: Align the Second Null Point
- Move the stylus to the second alignment point
- Check alignment again
- Adjust cartridge position slightly if needed
Both points must align correctly—this usually requires several small adjustments.
Step 6: Recheck and Tighten the Screws
- Gently tighten the mounting screws
- Alternate between screws to maintain alignment
- Avoid overtightening
After tightening, recheck both null points to ensure nothing shifted.
Step 7: Set Tracking Force and Anti-Skate
Alignment should be followed by proper setup:
- Set tracking force to the cartridge manufacturer’s recommendation
- Adjust anti-skate to match tracking force
These steps ensure stable tracking and minimal wear.
Common Alignment Mistakes to Avoid
- ❌ Aligning only one null point
- ❌ Viewing the cartridge at an angle
- ❌ Using excessive force
- ❌ Ignoring cantilever position
- ❌ Skipping rechecks after tightening
Patience is more important than speed.
How Long Should Alignment Take?
For beginners, expect 20–40 minutes. With experience, alignment can take under 15 minutes.
Take breaks if needed—rushing increases mistakes.
When Alignment Is Especially Critical
- Using advanced stylus shapes (MicroLine, Shibata)
- Hearing distortion near the end of records
- Installing a new cartridge or stylus
- Playing valuable or rare records
Precision pays off.
Final Thoughts
Learning how to align a turntable cartridge is one of the most rewarding skills in vinyl playback.
Done correctly, alignment:
- Improves sound quality immediately
- Reduces record and stylus wear
- Unlocks the full potential of your cartridge
Take your time, follow each step carefully, and your records—and ears—will thank you.