
Why Does My Turntable Belt Keeps Slipping or Falling Off?
Chances are that the reason you’re here is because that pesky belt of your cherished turntable keeps slipping or coming off. It can be pretty annoying to constantly put it back on, disrupting the process of your groove. If, however, you are facing this unfortunate issue, it might be time for a new belt.
1. Check the Motor Alignment
The symptom usually implies that the platter and the motor shaft/pulley are not perfectly aligned. If the motor shaft leans slightly toward the platter, the belt will come off at the top, but if the motor shaft leans slightly away from the platter, the belt will come off at the bottom. So make sure the motor/shaft is perfectly aligned with the platter, and the belt should stay put.
The next time your belt slides off, note which side it is on, and then flip it upside down when fitting it. However, if it keeps sliding off despite your best efforts, it’s most certainly strained and needs to be replaced.
2. Check the Sub-platter or Normal Platter
Additionally, belt problems might be caused by grease on the sub-platter or the normal platter. For this reason, it is preferable to use project decks with gloves when handling the belt. Before determining if you need to get a new belt, apply some isopropyl alcohol to clean the platter’s edge as well as the belt. If that doesn’t solve your belt problem, you’ll need to get a new belt.
3. Review your Belt’s Condition
Normally, the belt does not pass through any special tensioners or anything of the sort; instead, the belt should be routed directly from the spindle motor to the platter’s interior. The belt should be hooked on the motor part and laid open wide inside the turntable. Replacing the platter and moving the belt onto the platter from the inside through the two huge holes would be the next step. Slowly move your hand to observe what occurs. If the belt comes loose again, it is highly possible that it’s stretched and has to be replaced.
Like a rubber band, turntable belts can stretch and will lose its flexibility as it ages or if there is prolonged or minimal usage. The good news is that turntable belts can be replaced at a relatively cheap cost if you don’t have a spare belt on hand. Check out this post to determine how often you’ll need to replace your turntable belt.
If the problem with your belt is not its deteriorating flexibility, this forum might be useful in providing solutions to niche concerns.
Replacing your Turntable Belt
Replacing a faulty or preloved belt is a simple process that requires minimal effort. The things you’ll need on hand is a new belt and a drive to get your turntable up and running again. Check out the video below to understand how replacing a belt works in less than three minutes:
Let us break down the steps you’ll have to take to make your process a total breeze:
1. Determine the Right Size of Your Belt
Rubber belts come in a variety of sizes and it is crucial that you pick a size that is right for your own turntable. Not all belts are created equally, as the width, length, and even thickness of a belt will make a difference in how your records play.
To do that, you’ll need to use a non-stretchable rope, wrapping the whole belt path’s pulleys, including the motor driving pulley. To keep the string in place, you might need to use a little tape. Taking the extra effort to accomplish this ensures that we have a solid length from which to construct an exact belt cross reference for you, ensuring that you get the appropriate belt the first time.
Instead of measuring the length of your existing belt, this foolproof method will provide higher accuracy because we don’t know for sure if your old belt has expanded a lot or a little over the years.
Then, where the two ends meet, label the string with a felt marker. Following, between the marks, measure the overall length of the string. Once you’ve gotten an estimation, it’s time to hit the market to purchase a new belt.
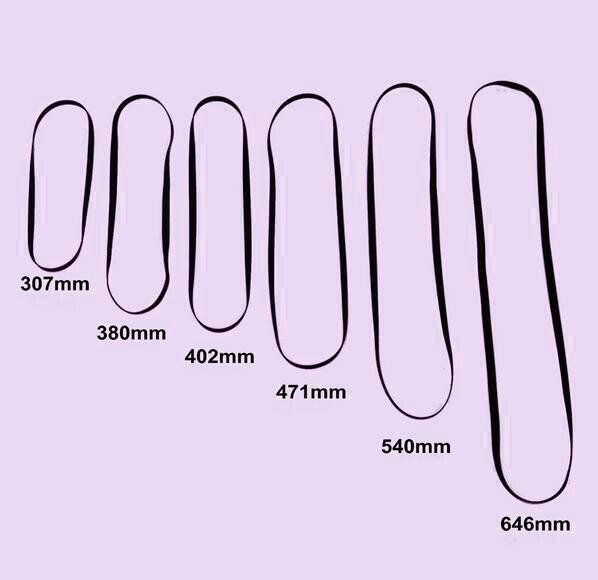
Belt lengths of 19.6″, 20.7″, 21.4″, 22.4, 23.6″, 25.0″, and 35.1″ are used on almost all turntables. There are a few different turntables that use different sizes so rest assured that you won’t miss the mark in your calculation if you’ve followed the steps well. If you still have doubts about your measurement, knowing the name and manufacturer of your turntable will come in extremely handy. Simply head over to this website and choose from a list of manufacturers to determine the size of your belt.
For our more visual learners, watch the video below to understand the mechanics of measuring your belt:
2. Purchasing a Belt
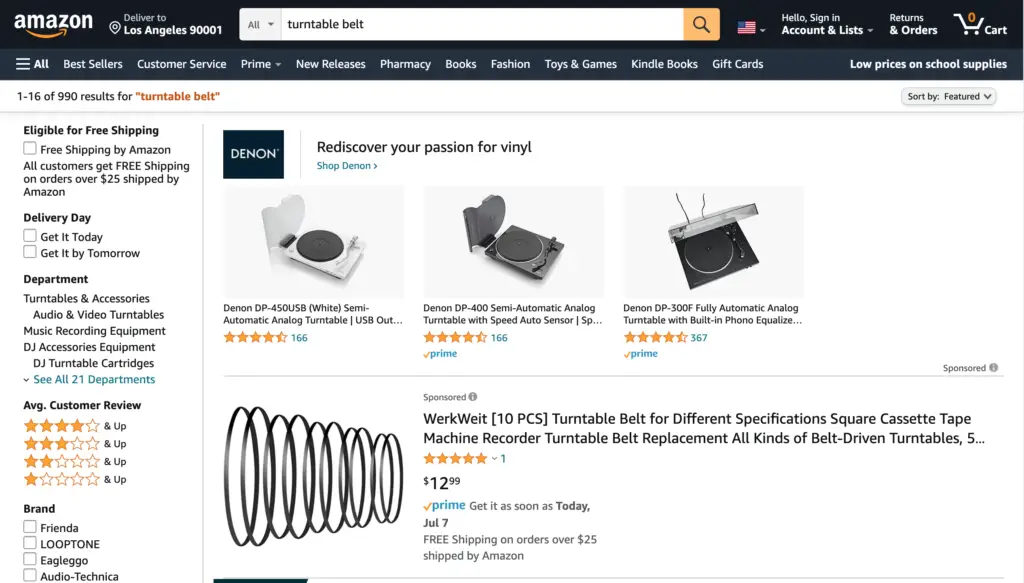
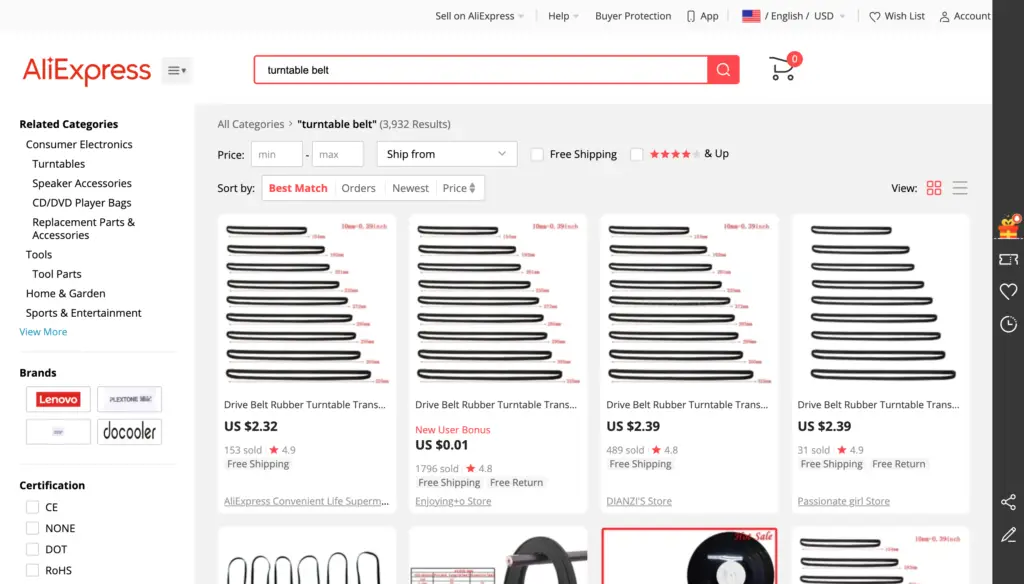
It’ll be great if you have a go-to store for your turntable fixes, but not everyone has the privilege of living close to a physical store of such interest. You might then need to take your expenditure online.
As we’ve mentioned, purchasing a turntable belt should not put a strain on your wallet. Getting a new belt, usually in packs, should not exceed over USD $15 disregarding the cost of shipping. Sites like Amazon and AliExpress are prime examples of where you’ll be able to find a variety of belts at the lowest costs.
3. Replacing the Belt
Your belt is here! Now it’s time to get down to business. Here are the 10 steps you’ll need to follow.
Step 1: Disconnect the turntable’s power supply.
Any potential electrical shocks will be avoided, albeit they should be rare. Nonetheless, it is for your and the vehicle’s safety.
Step 2: Remove the plastic mat from the table.
This is the surface upon which the record rests. It should be simple to take out of the middle shaft. Simply remove it and set it away
Step 3: Remove the plate from the oven.
Underneath the mat is a metal or plastic circular that serves as the plate. It normally has two “access ports,” which are small holes in the platter that allow you to see the motor. It can be fastened to the central shaft in several ways, all of which are simple to remove:
- Use a flat-head screwdriver to pry off any little C-shaped clips that are attached to the center shaft. It can be saved for later.
- It’s probably “press-fit” if there’s no clip but the platter won’t come off. Pull it up and lightly pound the central shaft with a hammer to remove the platter.
Step 4: Place the platter on a flat surface upside down.
If you haven’t cleaned the motor in a while or it appears dirty, this is an excellent time to do so. Wipe off the exposed parts with a lint-free rag and some rubbing alcohol to remove any dust or debris.
Step 5: Stretch the belt over the platter’s center hub.
It should be a tight fit on the circle. Here are some recommendations to make sure everything is connected correctly:
- Ensure that the belt is in a straight position.
- As much as you can, place it in the center of the circle.
- Check to see if it’s twisted or kinked.
- If the belt has a ribbon, line it up with one of the platter’s access holes.
Step 5.5 (Optional): If your platter doesn’t have access holes, stretch the belt over the little peg or post.
If the platter is made up of one solid piece, look for the small peg towards the platter’s edge. Stretch the belt onto this post while it is still on the middle circle, so that the entire belt resembles a round-bottomed triangle. This step can be skipped if your plate has access holes.
Step 6: Replace the platter on the turntable by flipping it over.
Replace the platter on the turntable, but leave the C-clip off for now.
Step 7: Turn the platter so that the motor is visible through the access holes.
The motor is a tiny metal shaft that emerges from one of the turntable’s corners. The belt attaches to it, spinning the turntable as the motor rotates. To reach in and touch the motor, line up one of the access holes on the platter.
If your platter doesn’t have any access ports, line up the post on the bottom with the motor spindle. Place the plate on the table and spin it two full clockwise and two counter-clockwise rotations to connect the belt to the motor.
Step 8: Take hold of the belt and loop it around the motor.
Stretch the belt over the motor spindle after pulling it through the access hole. Pull the belt over this and lay it on the motor’s body. There should be a small cover on the top that stops the belt from slipping off.
Step 9: Spin the turntable in both directions to test the belt.
Consistent, light resistance should be visible. The platter will not spin indefinitely, but it will not jolt or stop abruptly. If that’s the case, inspect the belt for kinks or twists before reattaching it. Replace the c-clip and mat, and plug the player in if it’s smooth. Start it up and wait for it to spin.
Step 10: Repeat the process to troubleshoot any issues.
The most typical problem is that the belt is not properly linked to the motor. Make sure it’s hidden beneath the top cap. A belt that is too tight or too loose is another issue. It’s too tight if you can’t spin the platter by hand. If it doesn’t spin when the engine is turned on, it’s because it’s too loose.
A little confused? Here is a quick 5-minute replacement guide if more visual cues are needed:
4. Some Tips for Your New Turntable Belt
Before your turntable will get into the full swing of things, allow at least 1 hour for the new belt to break in before engaging in intense listening. Oddly enough, the belt will sound better on one side than the other, so experiment by drawing a line with a felt pen or a dot of paint on the side you choose.
When a little talcum powder is brushed over the surface of a belt, it often helps to remove mechanical noise. The belt should have the lowest tension without wow or flutter to eliminate mechanical noise and sound best. Try and experiment with tension to hear what sounds best.
Make sure the player is turned off and unplugged before attempting to clean the rubber turntable belt. After that, you must remove the rubber pad from the platter and then take the platter off of the spindle to get to the belt to clean it. The belt can then be removed with ease and care.
Rubber conditioners, polishes, and other similar products should not be used on the belt. The running surface of your pulley, sub-platter, or platter should be cleaned with methylated Spirit on a regular basis, especially if black rubber deposits begin to form. Otherwise, simply wipe with plain water or methylated Spirit if required. This will keep your belt longer-lasting and at peak cleanliness.
More tips for extending the life of your belt can be accessed on this helpful forum.
Closing Words
Replacing your slipping turntable is definitely not rocket science and you’ll definitely get the hang of it as you mature with your turntable. If you need more help with your turntable, do check out the posts we have, or simply leave a comment below.
Your turntable will figuratively and literally be music to your ears through a simple belt replacement if slipping is an issue you’ve been facing. Good luck and have fun!