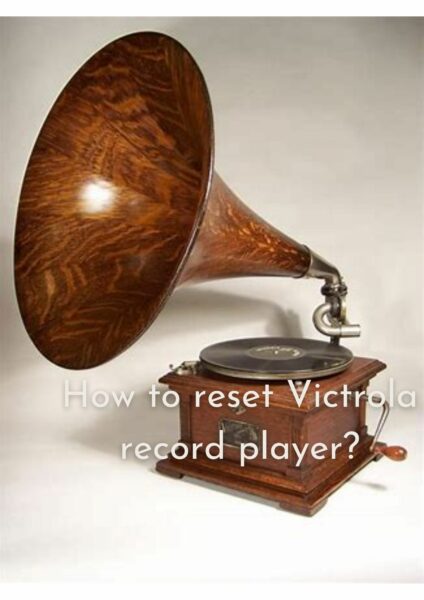
If you own a Victrola record player and are facing issues with its performance or functionality, resetting the device might be a simple solution. Resetting your Victrola record player can help resolve various common problems, such as audio distortion, skipping records, or unresponsiveness. In this article, we will provide you with a detailed step-by-step guide on how to reset your Victrola record player, ensuring that you can enjoy your vinyl collection with optimal sound quality once again.
Note: Before proceeding with the reset process, it’s important to consult the user manual that came with your specific Victrola model. Different models might have slightly varying reset procedures.
Step 1: Power Off and Disconnect
To begin the reset process, ensure that your Victrola record player is powered off. Disconnect any external power sources, including the power cord or batteries, if applicable. This step is crucial to ensure a complete reset.
Step 2: Remove the Platter
The platter is the rotating disc on top of the turntable that holds the vinyl record. Gently remove the platter by lifting it straight up. Take care not to damage the needle or any other delicate components during this process.
Step 3: Reset the Tonearm
The tonearm is the arm that holds the needle and stylus. Depending on your Victrola model, there are different ways to reset the tonearm:
– Manual Tonearm Reset: If your Victrola record player has a manual tonearm, locate the tonearm rest. Move the tonearm to the rest position and secure it properly. This action resets the internal mechanisms of the tonearm.
– Automatic Tonearm Reset: Some Victrola models feature an automatic tonearm reset function. In this case, locate the tonearm reset button or switch. Press or activate it to reset the tonearm.
Step 4: Clean the Contacts
Using a soft cloth or cotton swab, gently clean the metal contacts on the tonearm and the underside of the platter. Dust or debris on these contacts can interfere with the audio signal or cause skipping issues. Ensure that the contacts are clean and free from any obstruction.
Step 5: Reassemble the Platter
Carefully place the platter back onto the turntable, ensuring it sits properly and rotates freely. Ensure that the platter is securely attached to the spindle or center pin.
Step 6: Power On and Test
Reconnect any power sources and turn on your Victrola record player. Once the device is powered on, test its functionality by playing a vinyl record. Check for any improvement in sound quality or issues that were present before the reset.
Step 7: Additional Troubleshooting Steps
If the reset did not resolve the problem or if you encounter further issues, consider the following troubleshooting steps:
– Check the condition of your stylus/needle: A worn-out or damaged stylus can affect sound quality. Consider replacing it if necessary.
– Check the alignment of the cartridge: Improper cartridge alignment can cause distortion or skipping. Refer to your user manual for instructions on aligning the cartridge properly.
– Clean the records: Dust, dirt, or debris on your vinyl records can also affect playback quality. Clean them using a record cleaning brush or a specialized cleaning solution.
Resetting your Victrola record player can often resolve common issues and restore optimal performance. By following the step-by-step guide outlined in this article, you can reset your Victrola record player safely and efficiently. Remember to consult your specific model’s user manual for any model-specific instructions. Enjoy listening to your vinyl collection with renewed sound quality and clarity. Happy listening

