Vinyl records have made a remarkable comeback in recent years, captivating music enthusiasts with their warm sound and nostalgic charm. To preserve the quality of your vinyl collection, it’s crucial to know how to replace the record needle, also known as a stylus. In this article, we will guide you through the process step by step, ensuring that you can maintain the longevity of your records and enjoy the finest audio experience.
1. Understanding the Anatomy of a Record Needle
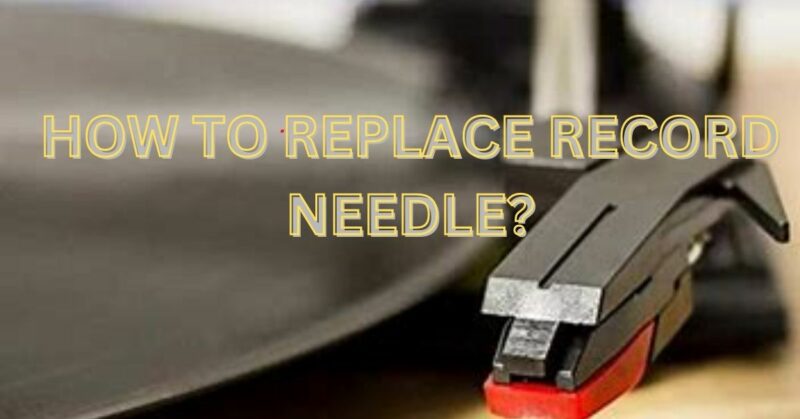
Before we delve into the replacement process, it’s essential to understand the components of a record needle. The stylus, typically made of diamond or sapphire, is the small, delicate part that touches the record’s grooves and translates the physical vibrations into sound. The stylus is attached to the tonearm via a cartridge, which houses the electromechanical components responsible for the audio signal transmission. Proper knowledge of these components will aid you in choosing the right replacement needle for your turntable.
2. Selecting the Correct Replacement Needle
Not all record needles are universal. Different turntables and cartridges require specific stylus types and shapes. Consult your turntable’s manual or search for the model online to identify the compatible needles. If you’re unsure, it’s best to contact the manufacturer or a reputable audio retailer to ensure you get the correct replacement. Remember, using an incorrect needle can result in poor sound quality and potential damage to your records.
3. Gathering the Tools
Before you start the replacement process, gather the necessary tools: a replacement needle, gloves, a magnifying glass, and tweezers. Wearing gloves will prevent oil and dirt from transferring onto the needle, which can affect playback quality. A magnifying glass will help you examine the stylus and cartridge more closely, ensuring precision during installation. Tweezers will assist in removing the old needle and carefully inserting the new one.
4. Removing the Old Needle
Begin by turning off your turntable and unplugging it from the power source to prevent any accidents. Gently lift the tonearm and locate the old needle at the end of it. Use the tweezers to carefully remove the old needle from the cartridge by gripping it at the base and pulling it straight out. Take this opportunity to inspect the cartridge for any signs of damage or wear.
5. Installing the New Needle
Hold the new needle with the tweezers, being cautious not to touch the delicate tip. Align the new needle with the cartridge, ensuring it fits securely into the designated slot. Apply a slight downward pressure to ensure a snug fit. Double-check the alignment using the magnifying glass to guarantee the stylus is properly seated.
6. Testing and Fine-tuning
Once the new needle is installed, lower the tonearm back onto the turntable’s rest. Plug in and power on the turntable. Select a record and carefully lower the tonearm onto it. Listen for the sound quality, ensuring that the new needle is properly tracking the grooves. If adjustments are necessary, consult your turntable’s manual for guidance on tracking force and anti-skate settings.
Replacing a record needle may seem daunting at first, but with the right knowledge and tools, it becomes a simple and rewarding process. By understanding the anatomy of a record needle, selecting the correct replacement, and following the step-by-step instructions outlined in this article, you can maintain the quality of your vinyl collection and enjoy an immersive listening experience. Remember, a well-maintained stylus is essential for preserving your records and extracting the best sound from your vinyl collection.

