
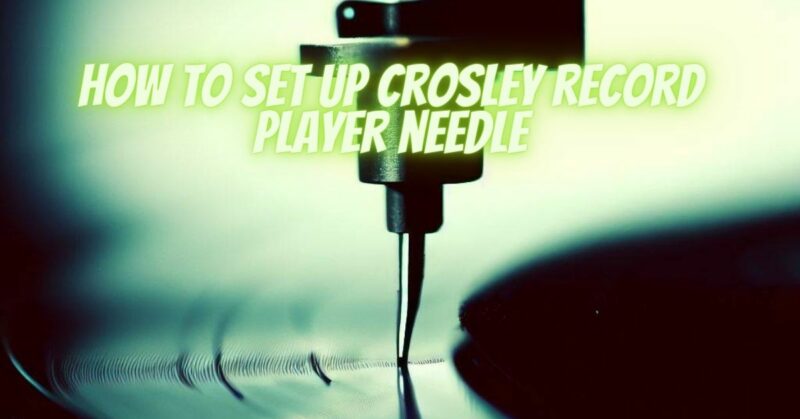
Crosley record players are popular for their vintage charm and ease of use. If you’ve recently acquired a Crosley record player or need to replace the needle (also known as the stylus), it’s important to set it up correctly to ensure optimal sound quality and performance. In this article, we’ll guide you through the steps to properly set up a Crosley record player needle.
- Gather Your Supplies: Before starting, gather the following supplies:
- Replacement needle: Purchase a compatible replacement needle for your specific Crosley record player model. Make sure it matches the cartridge type and specifications recommended by Crosley.
- User manual: Refer to the user manual that came with your Crosley record player. It contains valuable information and specific instructions tailored to your model.
- Turn Off the Record Player: Before handling the needle or cartridge, make sure the record player is turned off and unplugged from the power source. This ensures your safety and prevents any accidental damage to the equipment.
- Remove the Old Needle: If you’re replacing an old needle, gently grip the sides of the cartridge and carefully pull it forward and upward to remove it from the tonearm. Be cautious not to apply excessive force or damage the delicate components.
- Unpack the New Needle: Take the replacement needle out of its packaging, being mindful of its delicate nature. Avoid touching the stylus tip with your fingers to prevent oils and dirt from transferring to it, which could affect playback quality.
- Align the New Needle: Check the user manual or manufacturer’s instructions for your specific Crosley model to determine the correct alignment and installation method for the new needle. Some needles slide or snap into place, while others require precise alignment and adjustment.
- Install the New Needle: Carefully position the new needle over the cartridge and align it according to the manufacturer’s instructions. Ensure that it is securely seated and properly aligned with the cartridge body.
- Test the Needle: Once the new needle is installed, it’s time to test its performance. Turn on the record player, select a vinyl record, and gently lower the tonearm onto the record. Listen for clear and balanced audio output, without any skipping or distortion. If the sound quality is compromised or the needle skips, double-check the alignment and installation, and make necessary adjustments.
- Fine-Tune the Tracking Force and Anti-Skate (if applicable): Some Crosley record player models allow for adjustment of tracking force and anti-skate settings. Refer to your user manual to learn about these features and how to make any necessary adjustments. Proper tracking force and anti-skate settings ensure optimal performance and minimize wear on the record and stylus.
- Regular Maintenance: To prolong the lifespan and performance of your Crosley record player needle, it’s essential to perform regular maintenance. Keep the record player and needle clean, avoid excessive dust and dirt buildup, and handle the records and needle with care.
Conclusion:
Setting up a Crosley record player needle involves careful installation, alignment, and testing to ensure proper playback and sound quality. By following the steps outlined in this article and referring to the user manual for your specific Crosley model, you’ll be able to replace the needle with confidence and enjoy your vinyl collection to the fullest. Happy listening!