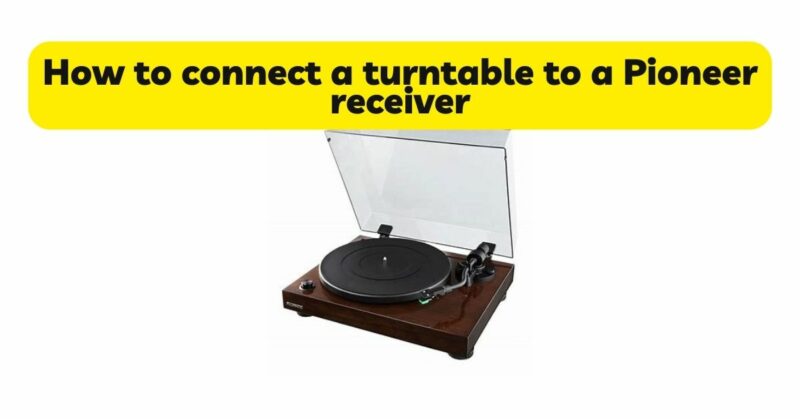
If you’re a vinyl enthusiast and own a Pioneer receiver, you may be eager to connect your turntable to enjoy the warm and rich sound of vinyl records through your audio setup. Connecting a turntable to a Pioneer receiver is a straightforward process that requires the right cables and a few simple steps. In this article, we will provide you with a step-by-step guide on how to connect a turntable to a Pioneer receiver, allowing you to experience the full potential of your vinyl collection.
Before You Begin: Before diving into the connection process, it’s essential to consider the following points:
- Check Compatibility: Ensure that your Pioneer receiver has a dedicated phono input. Most Pioneer receivers are equipped with a phono input specifically designed for turntables. If your receiver lacks a phono input, you will need an external phono preamp.
- Preamp Requirement: Determine if your turntable has a built-in preamp or if you need to purchase an external phono preamp. If your turntable has a built-in preamp, you can connect it directly to the phono input on the Pioneer receiver. If your turntable does not have a preamp, you will need to connect an external preamp between the turntable and the receiver.
- Cables and Adapters: Gather the necessary cables and adapters based on the connections available on your turntable and Pioneer receiver. You may need RCA cables, ground wire, and RCA to 3.5mm adapters, depending on the input/output options.
Step-by-Step Guide:
Step 1: Determine the Input and Output Options: Check the rear panel of your Pioneer receiver to identify the available input and output options. Locate the phono input, which is usually labeled as “PHONO” or “Turntable.” Note down the specific input name and any additional output options that may be available.
Step 2: Set Up the Preamp (if required): If your turntable has a built-in preamp, you can skip this step. However, if you need an external preamp, connect the turntable’s output (usually RCA) to the input of the preamp. Then, connect the preamp’s output to the phono input on the Pioneer receiver using RCA cables.
Step 3: Ground the Turntable (if required): Some turntables require a separate ground connection to reduce humming or buzzing sounds. If your turntable has a ground wire, connect it to the designated grounding terminal on the Pioneer receiver. This step ensures a stable and noise-free connection.
Step 4: Connect the Turntable to the Receiver: Using the appropriate cables, connect the output of your turntable (RCA or other) to the phono input on the Pioneer receiver. If using RCA cables, match the left and right channels from the turntable to the corresponding input jacks on the receiver. Ensure a secure and tight connection for optimal audio performance.
Step 5: Power On and Configure: Power on your turntable, preamp (if applicable), and Pioneer receiver. Use the receiver’s remote control or front panel buttons to select the phono input. This step ensures that the receiver is receiving the audio signal from the turntable.
Step 6: Adjust Receiver Settings: Depending on the specific model of your Pioneer receiver, you may need to adjust some settings to optimize the audio output from the turntable. Explore the receiver’s menu or options to adjust the phono input level, equalizer settings, or any other audio-related parameters. Consult the receiver’s user manual for specific guidance.
Step 7: Test and Enjoy: Place a vinyl record on your turntable, gently lower the tonearm, and adjust the volume on your Pioneer receiver. You should now hear the warm and authentic sound of your vinyl collection through your Pioneer audio system. Take some time to enjoy the immersive and nostalgic experience that vinyl playback provides.
Conclusion: Connecting a turntable to a Pioneer receiver allows you to immerse yourself in the world of vinyl music. By following the step-by-step guide outlined in this article, you can ensure a proper and seamless connection between your turntable and Pioneer receiver. Remember to check compatibility, set up the preamp (if necessary), use the correct cables and adapters, and configure the receiver settings for optimal audio performance. Now, sit back, relax, and rediscover the joy of listening to vinyl records through your Pioneer receiver setup.

