
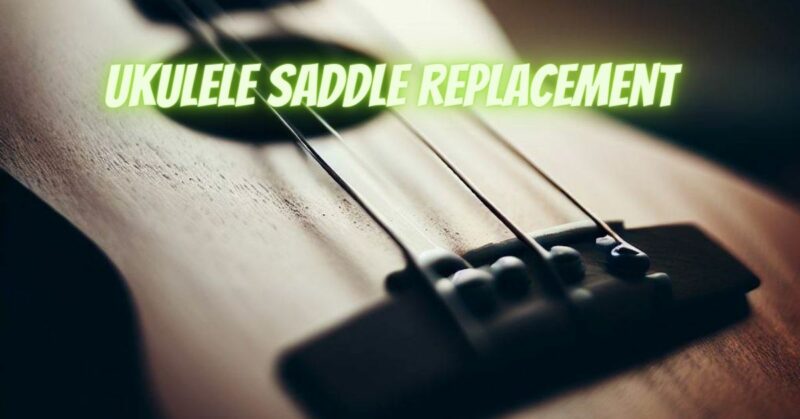
The saddle of a ukulele is a small but significant component that plays a crucial role in maintaining proper string height, intonation, and overall playability. Over time, the saddle may wear down, become damaged, or require adjustment to achieve optimal performance. If you find yourself in need of replacing the saddle on your ukulele, this comprehensive guide will walk you through the step-by-step process, ensuring a successful saddle replacement and improved playability. Let’s dive in and find the perfect fit for your ukulele!
- Assess the Need for Saddle Replacement:
Before proceeding with a saddle replacement, evaluate the condition of your ukulele’s existing saddle. Look for signs of wear, cracks, or improper height that may affect string action and intonation. If the saddle shows significant damage or cannot be adjusted to achieve proper playability, it is time for a replacement.
- Gather the Necessary Tools and Materials:
To replace the saddle on your ukulele, gather the following tools and materials:
- New saddle (specifically designed for your ukulele model and size)
- Sandpaper (various grits, including fine-grit)
- Razor blade or thin chisel
- Ruler or measuring device
- Pencil or marker
- Masking tape (optional, for protecting the ukulele’s finish)
- Loosen the Strings and Remove the Old Saddle:
Begin by loosening the tension of the strings on your ukulele and removing them from the saddle. This will allow you to work on the saddle without obstruction.
Using a razor blade or thin chisel, carefully lift the old saddle from its slot in the bridge. Take your time and work gradually to avoid any damage to the bridge or surrounding area.
- Measure and Mark the New Saddle:
Measure the length and height of the old saddle using a ruler or measuring device. Transfer these measurements to the new saddle, marking the appropriate length and height using a pencil or marker.
Ensure the new saddle is slightly taller than the desired final height to allow for adjustments during the fitting process.
- Shape and Fit the New Saddle:
Using sandpaper with a fine grit, carefully shape the new saddle to match the contours and curvature of the ukulele’s bridge. Take small, deliberate strokes and periodically check the fit against the bridge slot.
Avoid removing excessive material at once, as it is easier to take off more later if needed. Continuously test the fit and make adjustments until the saddle sits snugly and evenly in the bridge slot.
- Fine-tune the Saddle Height:
Place the newly fitted saddle back into the bridge slot and restring your ukulele.
Assess the string action and intonation by playing various fretted notes up the neck. If necessary, make small adjustments to the saddle height by carefully sanding the bottom of the saddle until the desired action and intonation are achieved.
- Reinstall the Saddle and String Up:
Once you are satisfied with the saddle height and playability, remove the strings and apply a small amount of wood glue to the bottom of the saddle.
Carefully place the saddle back into the bridge slot, ensuring it is seated securely. Wipe away any excess glue and allow it to dry according to the manufacturer’s instructions.
Reinstall the strings, bringing them up to tension and tune your ukulele to the desired pitch.
Conclusion:
Replacing the saddle on your ukulele can significantly enhance its playability and intonation. By following the steps outlined in this guide, you can successfully replace the saddle and improve the performance of your ukulele. Remember to take accurate measurements, shape the saddle with care, and make gradual adjustments to achieve the desired string action and intonation. With a properly fitted saddle, your ukulele will sing harmoniously and inspire your musical creativity. Happy playing!