
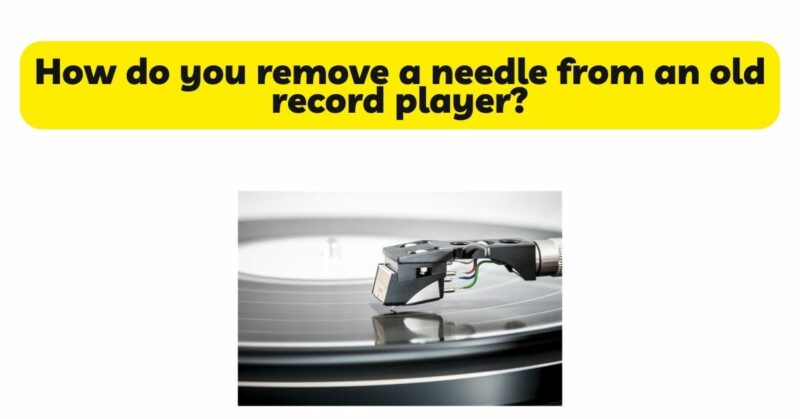
Old record players hold a special place in the hearts of music enthusiasts, offering a nostalgic experience and a chance to enjoy the authentic sound of vinyl records. If you are looking to replace or clean the needle (stylus) on your old record player, it is important to know how to safely remove it. In this article, we will guide you through the process of removing the needle from an old record player, ensuring that you handle this delicate task with care and preserve the integrity of your vintage equipment.
- Understand the Record Player’s Components: Before attempting to remove the needle, familiarize yourself with the key components of your old record player. The tonearm is the long, pivoting arm that holds the cartridge and needle. The cartridge houses the needle and is attached to the end of the tonearm. It is important to recognize these parts to ensure a smooth and safe removal process.
- Prepare a Clean and Stable Workspace: Create a clean and stable workspace to perform the needle removal. Clear the area of any dust, debris, or other potentially damaging objects. Place a soft cloth or towel on the workspace to provide a protective surface for the record player and its delicate components.
- Ensure the Record Player is Turned Off: Before starting the needle removal process, ensure that the record player is turned off and unplugged. This precautionary step prevents any accidental movement or damage to the needle or other components.
- Identify the Needle Attachment Mechanism: Different old record players may have different mechanisms for attaching the needle to the cartridge. Common attachment methods include screws, clips, or a twist-lock mechanism. Carefully inspect the cartridge and needle assembly to identify the specific attachment method used.
- Removing Screw-Attached Needles: If your old record player has a screw-attached needle, use a small screwdriver that fits the screw head. Gently rotate the screw counterclockwise to loosen it without applying excessive force. Once the screw is sufficiently loosened, carefully lift the needle away from the cartridge. Avoid touching the stylus tip with your fingers to prevent potential damage or contamination.
- Releasing Clip-Attached Needles: For record players with clip-attached needles, locate the small clip or clamp that secures the needle to the cartridge. Gently press or release the clip, depending on its design, to disengage it from the cartridge. Once the clip is released, carefully lift the needle away from the cartridge.
- Detaching Twist-Lock Needles: If your old record player has a twist-lock needle, look for a small collar or ring around the base of the needle where it attaches to the cartridge. Grasp the collar or ring and rotate it counterclockwise to unlock the needle from the cartridge. Once unlocked, gently pull the needle straight out from the cartridge.
- Handle the Needle with Care: Throughout the needle removal process, handle the needle with utmost care to prevent damage. Avoid applying excessive force or bending the needle. Take care not to touch the stylus tip with your fingers, as oils and debris can impact its performance. Hold the needle by its body or handle if it has one, taking care to avoid any unnecessary pressure on the stylus.
- Inspect the Needle and Cartridge: Once the needle is removed, take a moment to inspect both the needle and the cartridge. Look for signs of wear, damage, or contamination on the needle, such as a bent or worn stylus tip. Inspect the cartridge for any debris or dirt that may need to be cleaned. Address any issues accordingly, either by cleaning the needle or replacing it if necessary.
- Properly Store the Removed Needle: If you plan to replace the needle or need to store the removed needle temporarily, it is essential to protect it from damage. Place the needle in a protective case, if available, to prevent accidental contact or contamination. Alternatively, store it in a clean and dry container, such as a small resealable bag, ensuring that it is adequately protected until you are ready to clean or replace it.
Conclusion: Removing the needle from an old record player requires caution and attention to detail. By understanding the components of your record player, preparing a clean workspace, and identifying the specific attachment mechanism, you can safely remove the needle without causing damage to the delicate stylus or other components. Remember to handle the needle with care, avoid touching the stylus tip, and inspect both the needle and cartridge for any necessary maintenance or replacement. By following these steps, you can maintain the integrity of your vintage record player and ensure an enjoyable vinyl listening experience.