
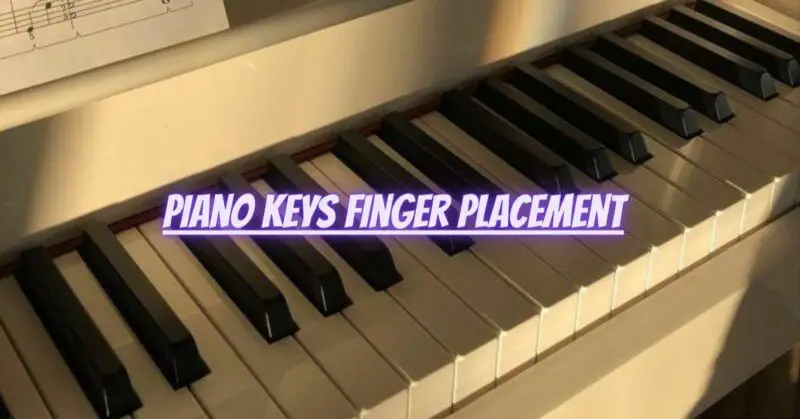
The piano keyboard is a mesmerizing arrangement of black and white keys, each representing a unique musical note. To unlock the full potential of this magnificent instrument, mastering proper finger placement is essential. Proper finger technique not only allows for efficient and accurate playing but also enables pianists to express their emotions and creativity through the music they create. In this article, we will explore the art of piano keys finger placement and its significance in becoming a skilled and expressive pianist.
1. The Basics of Hand Position:
Before delving into finger placement, understanding proper hand position is crucial. Keep your hands relaxed with your fingers gently curved, as if you were holding a small ball. The thumb is assigned to the white keys, and the other fingers follow sequentially (2 for D, 3 for E, 4 for F, 5 for G). For the black keys, the fingers can arch over them, as they are slightly raised compared to the white keys.
2. Curving Your Fingers:
Maintaining a natural curve in your fingers is essential for precision and control. When pressing a key, imagine your fingers making a rounded bridge shape. Avoid collapsing or straightening your fingers, as this can lead to tension and restrict fluid movement.
3. Playing with the Finger Pads:
When pressing a key, use the soft fleshy part of your fingertips (finger pads) to produce sound. Avoid playing with the tips of your fingers or using excessive force. The finger pads offer better sensitivity and allow you to control the volume and expression of each note.
4. Finger Independence:
Piano playing requires finger independence, meaning each finger moves independently of the others. Practice exercises that focus on individual finger movements and develop finger strength and agility. Gradually, your fingers will become more dexterous and responsive.
5. Thumb Under Technique:
When transitioning between notes, especially when moving from white keys to black keys or vice versa, use the “thumb under” technique. As one finger plays a note, tuck the thumb beneath the hand to prepare for the next note, ensuring smooth and seamless movements.
6. Cross Over Technique:
In some passages, you may need to cross one finger over another to reach a note. Practice the cross over technique to ensure accurate and fluid execution. Maintain a relaxed hand position, and avoid lifting your entire hand unnecessarily.
7. Hand Span and Reaching Keys:
If you have a smaller hand span, reaching certain intervals may be challenging. In such cases, use the arm to aid in reaching notes, keeping the hand relaxed. For larger stretches, practice gradually expanding your reach through stretching exercises.
8. Avoiding Tension:
Tension in the hands and fingers inhibits proper finger technique and can lead to discomfort or injury. Be mindful of any tension in your hands and consciously relax them while playing. Take breaks during practice to prevent strain.
9. Slow Practice and Building Muscle Memory:
Practice slowly and deliberately to ensure accurate finger placement. Building muscle memory through repetitive practice allows you to play with greater ease and confidence.
10. Expressive Playing:
As you become proficient in finger placement, you can focus on expressing emotions through your playing. The control and flexibility gained from proper finger technique enable you to create dynamic contrasts and convey the nuances of the music.
Conclusion:
Mastering piano keys finger placement is a fundamental skill that lays the groundwork for expressive and effortless piano playing. Cultivating proper hand position, finger curvature, and independence will enhance your control and precision on the keyboard. Embrace the art of finger technique, and with consistent practice and dedication, you will unlock the full potential of the piano, allowing your musical soul to soar through the captivating sounds you create. Happy playing!