
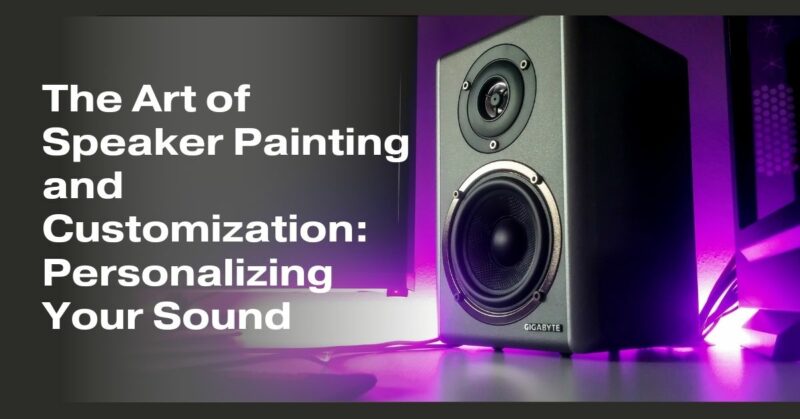
Speakers are not only an essential component of your audio system but also a canvas for personal expression. Customizing your speakers through painting and design allows you to blend audio performance with visual aesthetics, creating a unique statement piece for your living space. In this article, we’ll explore the art of speaker painting and customization, providing you with tips and inspiration to personalize your sound.
Why Customize Your Speakers?
- Personal Expression: Customizing your speakers allows you to showcase your personality and style. You can match them to your room’s decor, reflect your favorite colors, or create a visual representation of your musical taste.
- Enhanced Aesthetics: A well-designed and customized speaker can become a focal point in your room, elevating the overall aesthetics of your space.
- Unique Sound Experience: While customization primarily focuses on the visual aspect, it can also inspire a deeper connection to your speakers, enhancing your appreciation of the audio they produce.
Choosing the Right Speakers
Before diving into customization, it’s essential to select speakers that are suitable for your needs and the level of customization you have in mind. Consider factors such as speaker size, type (bookshelf, floor-standing, or in-wall), and audio performance to ensure they align with your audio preferences.
Materials and Preparation
- Gather Materials: To start your customization project, you’ll need paint or spray paint, primer, sandpaper, painter’s tape, brushes, and a well-ventilated workspace.
- Surface Preparation: Thoroughly clean the speaker’s surface to remove dust, dirt, and any previous finishes. Sand the surface lightly to create a smoother texture for paint adhesion.
- Masking: Use painter’s tape to mask off any areas you don’t want to paint, such as speaker drivers, connectors, or logos. Be precise in your masking to achieve clean lines.
Design and Inspiration
- Plan Your Design: Decide on the design you want for your speakers. This could be a simple solid color, intricate patterns, or even a mural. Sketch your design on paper before starting.
- Color Selection: Choose paint colors that complement your room’s decor or match your personal style. Consider using multiple colors or gradients for a unique look.
- Stencils and Decals: If you’re not confident in your freehand painting skills, stencils and decals can help you achieve intricate designs with precision.
Painting Techniques
- Priming: Apply a primer to the speakers to create a smooth and even base for the paint. Allow it to dry completely before proceeding.
- Base Coat: Apply the base coat of paint evenly across the speaker’s surface. Multiple thin coats are better than one thick coat for a smooth finish.
- Detail Work: Use brushes or smaller tools for detailed designs or accents. Take your time to ensure precision.
- Drying Time: Allow each coat of paint to dry thoroughly before applying the next. This prevents smudging or uneven texture.
Finishing Touches
- Sealing: Once your design is complete and has dried, apply a clear sealant or varnish to protect the paint and provide a glossy or matte finish.
- Reassembly: Carefully remove any masking tape and reassemble the speakers, making sure all components are securely in place.
Showcasing Your Customized Speakers
Place your customized speakers in a prominent location in your room to showcase your creative work. Their unique design will not only add a personal touch to your space but also serve as a conversation starter for guests.
Customizing your speakers is an exciting way to combine your love for audio with your artistic flair. Whether you prefer a minimalist look or an elaborate design, the art of speaker painting and customization allows you to personalize your sound and create a visual masterpiece that enhances your listening experience.