
Anti-skate is one of the most overlooked adjustments on a turntable—yet it plays a crucial role in sound quality, stylus wear, and record longevity. Many listeners set it once (or not at all) and forget about it, without realizing how much it affects playback balance and tracking accuracy.
In this article, we’ll explain what anti-skate does, why it matters, and how to adjust it properly for the best results.
What Is Anti-Skate?
Anti-skate is a mechanism that applies a small outward force to the tonearm. Its purpose is to counteract the natural inward pull—called skating force—that occurs when a record is spinning.
Skating force is created by:
- Friction between the stylus and record groove
- The angled geometry of the tonearm
- The rotating motion of the platter
Without anti-skate, the stylus presses harder against the inner groove wall, leading to uneven wear and channel imbalance.
Why Anti-Skate Matters
Proper anti-skate adjustment helps ensure:
- Even pressure on both groove walls
- Balanced left and right channel output
- Reduced distortion, especially on inner grooves
- Longer stylus and record life
- More stable tracking on dynamic passages
Incorrect anti-skate can cause mistracking, sibilance, or a shift in stereo imaging.
How Anti-Skate Works
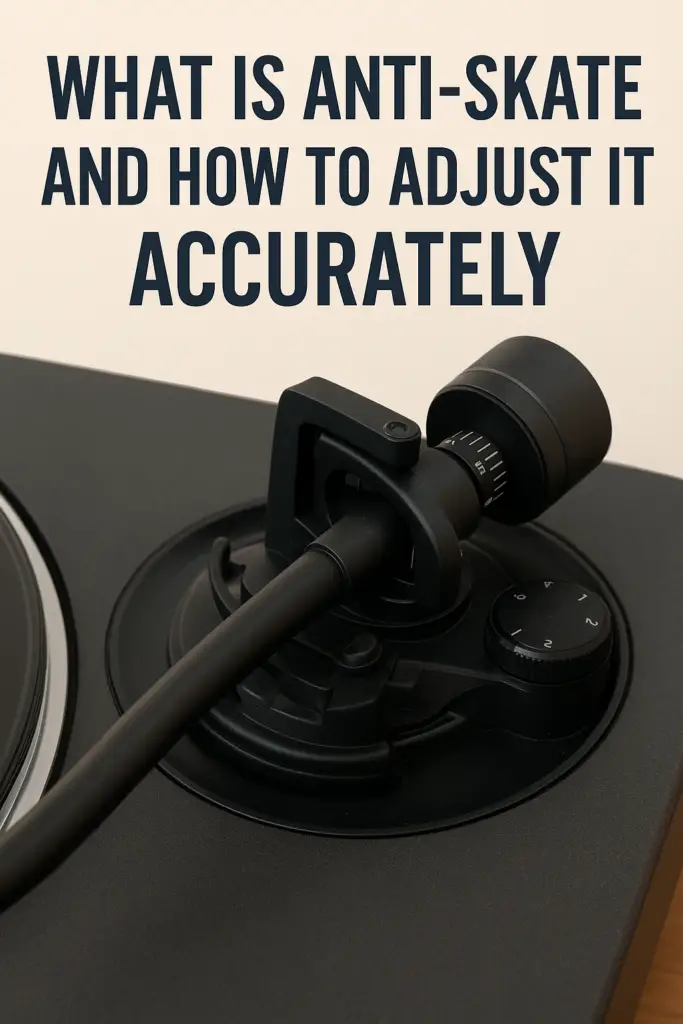
Different turntables use different anti-skate systems, including:
- Spring-based dials (most common)
- Magnetic systems
- Weight-and-string mechanisms
Although the design varies, the goal is always the same: apply just enough outward force to neutralize skating force during playback.
Basic Rule of Thumb: Match Tracking Force
For most setups, the simplest and safest starting point is:
Set anti-skate to the same value as your tracking force
Example:
- Tracking force: 2.0g
- Anti-skate: 2.0
This gets you very close to optimal performance on most cartridges.
Step-by-Step: How to Adjust Anti-Skate Accurately
Step 1: Set Tracking Force First
Anti-skate should always be adjusted after your tracking force is correctly set and verified.
Step 2: Start at the Matching Value
Dial in anti-skate to match your tracking force as a baseline.
Step 3: Listen for Channel Balance
Play a well-recorded, clean record and listen carefully:
- Vocals should be centered
- Cymbals should sound even on both channels
- No distortion should favor one side
If distortion appears more on the left channel, increase anti-skate slightly.
If distortion appears more on the right channel, reduce it slightly.
Step 4: Observe Stylus Behavior (Optional)
On the lead-in or run-out groove:
- The tonearm should move inward smoothly
- No sudden pulls or drifting should occur
This is a visual check—not a replacement for listening.
Advanced Adjustment Methods (Optional)
Using a Test Record
Test records with anti-skate tracks allow precise calibration, especially for advanced systems.
Using a Blank Record Surface
Some users use a blank vinyl surface:
- Too much inward movement = increase anti-skate
- Too much outward movement = decrease anti-skate
This method is controversial and should be used cautiously.
Common Anti-Skate Mistakes
- Leaving anti-skate at zero
- Setting it before tracking force
- Overcompensating “just to be safe”
- Ignoring cartridge manufacturer guidance
- Assuming all cartridges behave the same
Small adjustments matter more than large ones.
How Often Should You Recheck Anti-Skate?
Recheck anti-skate when:
- Installing a new cartridge or stylus
- Changing tracking force
- Moving the turntable
- Hearing channel imbalance or distortion
Signs Your Anti-Skate Is Set Correctly
- Clear, stable center image
- Smooth inner-groove playback
- Even stylus wear over time
- Reduced sibilance and distortion
When it’s right, anti-skate becomes invisible—you simply hear the music.
Final Thoughts
Anti-skate may seem like a minor adjustment, but it plays a major role in accurate vinyl playback. When set correctly, it ensures your stylus tracks the groove evenly, your records last longer, and your system performs at its best.
Take the time to dial it in—you’ll be rewarded with better sound and peace of mind.