
Owning an old record player can bring nostalgia and a unique listening experience. However, over time, the needle on these vintage devices can wear out or become damaged, affecting the sound quality and playback of your beloved vinyl records. Fortunately, replacing the needle is a relatively simple process that can restore your record player to its former glory. In this article, we will provide a step-by-step guide on how to replace the needle on an old record player, ensuring that you can continue enjoying your vinyl collection with optimal sound quality.
What is a Needle on a Record Player?
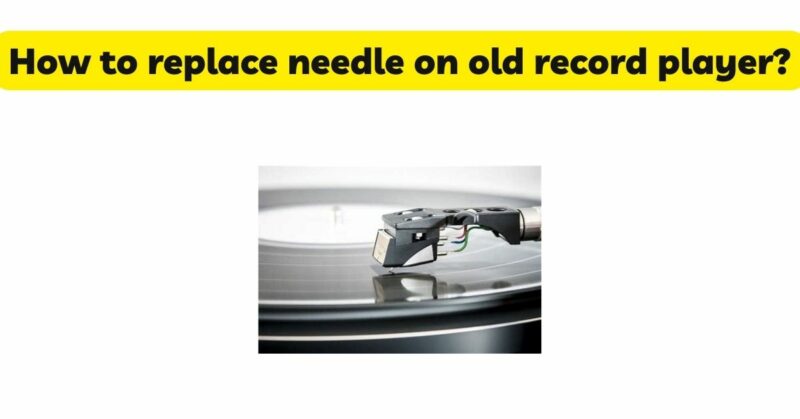
A needle on a record player is a small, pointed piece of metal that is attached to a cartridge. The cartridge is mounted on the tonearm of the record player, and the needle is responsible for reading the grooves on the vinyl record. As the record player spins, the needle moves along the grooves, and the cartridge converts the vibrations of the needle into electrical signals. These signals are then amplified and sent to the speakers, where they are converted back into sound waves.
Why Do You Need to Replace a Needle?
The needle on a record player is a wear item, which means that it will eventually need to be replaced. The frequency with which you need to replace the needle will depend on how often you use your record player and how careful you are with it. If you use your record player regularly, you should replace the needle every 1,000 to 2,000 hours of playing time. If you are not as careful with your record player, you may need to replace the needle more often.
When Should You Replace a Needle?
There are a few signs that can indicate that it is time to replace the needle on your record player. These signs include:
- The sound quality of your records has decreased.
- You see any signs of wear on the needle, such as bent or broken parts.
- The needle is skipping or jumping on the records.
- The needle is causing damage to your records.
If you notice any of these signs, it is a good idea to replace the needle on your record player.
Where to Buy Needles
You can buy needles for your record player at most electronics stores or online retailers. When choosing a needle, it is important to make sure that you buy a needle that is compatible with your record player. You can usually find this information in the owner’s manual for your record player
I. Understanding the Needle
Before diving into the replacement process, it’s important to understand the needle’s role in playing vinyl records. The needle, also known as a stylus, is a small, delicate component that interacts with the grooves on the record surface. It reads the physical vibrations encoded in the grooves and translates them into electrical signals, which are then amplified and converted into sound. Over time, the needle’s tip can wear down, resulting in a loss of sound quality and potentially causing damage to the record.
II. Identifying the Needle Type
Old record players may have different types of needles, depending on the specific model and brand. It’s crucial to identify the correct needle type to ensure compatibility and optimal performance. There are two main types of needles: ceramic and diamond. Ceramic needles are more common in older, lower-end record players, while diamond needles are found in higher-quality models. To determine the type of needle you need, consult the record player’s manual or examine the existing needle for any markings or labels.
III. Gathering the Necessary Tools
Before beginning the replacement process, gather the required tools to ensure a smooth procedure. You will need:
- Replacement needle: Purchase a new needle compatible with your record player model and needle type. Ensure that the replacement needle matches the specifications of the original one.
- Tweezers: Use tweezers to handle the delicate needle with care, avoiding any potential damage.
- Cleaning solution and a soft cloth: Cleaning the record player and stylus is recommended before and after needle replacement to remove any dust or debris.
IV. Removing the Old Needle
Replacing the needle involves careful removal of the old one to avoid any accidental damage. Follow these steps:
- Power off the record player: Before handling any components, ensure that the record player is unplugged and turned off to prevent any electrical accidents.
- Locate the tonearm: The tonearm is the long, pivoting arm that holds the needle. Lift the tonearm gently and move it to its resting position or use a tonearm lock, if available, to keep it secure during the replacement process.
- Remove the old needle: Examine the cartridge at the end of the tonearm. You may find a small clip or lever that secures the needle. Release or remove this clip to detach the old needle from the cartridge.
- Dispose of the old needle: Handle the old needle with caution, ensuring that it is safely discarded to avoid any injuries.
V. Installing the New Needle
With the old needle removed, it’s time to install the new one. Careful handling is essential to prevent any damage. Follow these steps:
- Check the alignment: Ensure that the new needle is aligned properly with the cartridge. Improper alignment can lead to poor sound quality or even damage the records. Consult the record player’s manual for specific alignment instructions.
- Attach the new needle: Align the new needle with the cartridge and gently insert it into the designated slot. Take care to align it properly to prevent any damage.
- Secure the needle: If your record player has a clip or lever to secure the needle, ensure it is in place, holding the new needle firmly.
- Lower the tonearm: Carefully lower the tonearm onto the record, ensuring that the new needle makes proper contact with the grooves. Take caution to avoid any sudden or forceful movements that may damage the needle or record.
Conclusion
Replacing the needle on an old record player is a straightforward process that can greatly improve the sound quality and longevity of your vinyl records. By understanding the role of the needle, identifying the correct type, gathering the necessary tools, and following the step-by-step instructions, you can successfully replace the needle on your vintage record player. With a new needle in place, you’ll be able to enjoy your cherished vinyl collection once again, hearing the music as it was intended to be heard and preserving the essence of analog audio.