
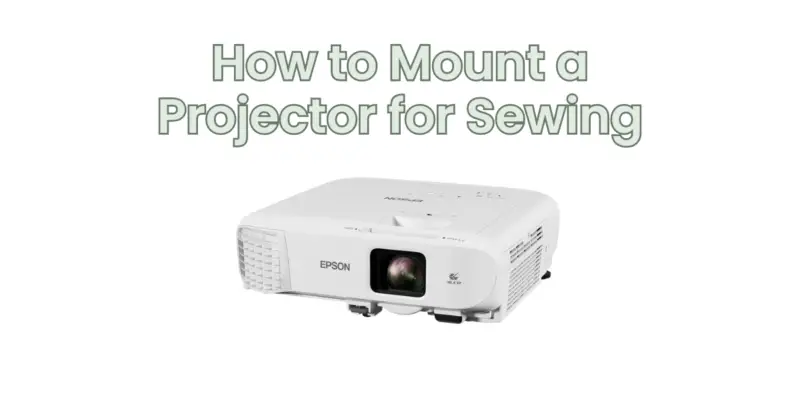
Mounting a projector for sewing can revolutionize your creative process by providing a larger, clearer, and more detailed view of your patterns and designs. With a projected image, you can easily trace patterns, adjust embroidery designs, and work with greater precision. In this article, we will guide you through the process of mounting a projector for sewing to maximize your sewing experience.
Step 1: Select the Right Projector: Choose a projector suitable for sewing purposes. Look for a projector with high image quality, brightness, and resolution to ensure clear and detailed projection. Consider the specific needs of your sewing projects, such as the desired image size and projection distance, to determine the appropriate projector specifications.
Step 2: Identify the Mounting Location: Select a suitable location for mounting the projector. It should provide an unobstructed projection area and a comfortable viewing distance from your sewing machine or work area. Ensure that the location allows for easy adjustment of the projector’s position and angle.
Step 3: Mount the Projector: There are several mounting options available for sewing applications. Here are two common methods:
a. Ceiling Mount:
- Use a ceiling mount specifically designed for projectors. Ensure that the mount is compatible with your projector model.
- Locate a suitable position on the ceiling above your sewing area.
- Attach the ceiling mount securely to the ceiling using appropriate screws and anchors.
- Adjust the mount’s extension arm and angle to position the projector at the desired distance and angle.
- Attach the projector to the mount following the manufacturer’s instructions.
b. Tabletop Mount:
- Place the projector on a stable surface near your sewing area, such as a table or sewing machine stand.
- Use a tabletop projector mount or a stable tripod stand designed for projectors.
- Adjust the mount’s height and angle to position the projector at the desired distance and angle.
- Secure the projector to the mount or stand according to the manufacturer’s instructions.
Step 4: Adjust the Projection: Once the projector is mounted, adjust the projection to suit your sewing needs:
- Position the projector at the optimal distance from your sewing area to achieve the desired image size.
- Adjust the projector’s focus to ensure a sharp and clear projection.
- Tilt or rotate the projector as needed to align the projection with your sewing surface or work area.
Step 5: Calibrate and Fine-Tune: Take the time to calibrate and fine-tune the projected image for optimal sewing visibility:
- Adjust the brightness and contrast settings to enhance visibility and clarity.
- Experiment with color temperature settings to achieve accurate color representation.
- Consider using a projection screen or a plain white fabric backdrop for better image quality and contrast.
Step 6: Cable Management: Organize the cables connected to the projector to create a neat and clutter-free workspace. Use cable clips or adhesive hooks to secure the cables along the walls or furniture, keeping them out of the way and minimizing tripping hazards.
Step 7: Sew with Precision: Once the projector is set up and calibrated, you can enjoy the benefits of a larger and clearer visual aid for your sewing projects. Trace patterns, position embroidery designs accurately, and work with precision using the projected image as your guide.
Remember to consult the manufacturer’s instructions for your specific projector and mounting solution. Ensure that the projector is securely mounted and positioned for stable and safe operation.
In conclusion, mounting a projector for sewing can elevate your sewing experience by providing a larger and clearer view of your patterns and designs. Follow this guide to select the right projector, mount it securely, adjust the projection, and fine-tune the image settings for optimal sewing visibility. With a mounted projector, you can enhance your sewing projects, improve accuracy, and unleash your creativity with greater precision and efficiency.