
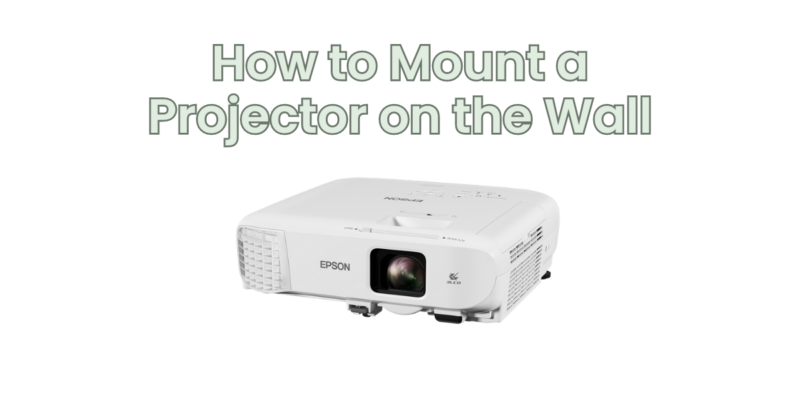
Mounting a projector to the wall can provide a clean and space-saving solution for creating a home theater or multimedia setup. Whether you want to enjoy movies, games, or presentations, wall mounting your projector can offer a professional and immersive viewing experience. In this article, we will provide a step-by-step guide on how to mount a projector to the wall.
Step 1: Choose the Right Location: Select an appropriate location on the wall for mounting your projector. Consider factors such as the viewing angle, screen size, distance from the seating area, and any obstructions that might affect the projection. Ensure the chosen location provides a clear line of sight between the projector and the screen.
Step 2: Gather the Necessary Tools and Equipment: Before you begin, gather the tools and equipment needed for the installation. This may include a stud finder, a level, a measuring tape, screws or anchors, a drill (if necessary), and a projector mount compatible with your projector model.
Step 3: Find a Stud or Use Anchors: Using a stud finder, locate a wall stud behind the chosen mounting location. If a stud is not available at the desired location, you will need to use wall anchors. Follow the instructions provided with the anchors to ensure proper installation.
Step 4: Install the Mounting Plate: Attach the mounting plate or bracket to the wall using screws or anchors. Make sure the mounting plate is level and securely fastened to the wall. If you’re using anchors, insert them into the wall according to the manufacturer’s instructions.
Step 5: Attach the Projector Mount: Attach the projector mount to the mounting plate using the appropriate screws or connectors. Refer to the instructions provided with the mount for the specific installation process. Ensure that the mount is securely fastened to the wall and aligned correctly.
Step 6: Adjust the Projector Position and Alignment: Once the mount is securely installed, adjust the position and alignment of the projector. Use the adjustable features of the mount to position the projector at the desired height, distance, and angle. Take into consideration the screen size, viewing distance, and any keystone correction needed to ensure a square and well-aligned image.
Step 7: Secure the Projector: Once the projector is positioned correctly, secure it to the mounting plate or bracket using the appropriate screws or clamps. Ensure that the projector is tightly secured to prevent any movement or instability during use. Double-check the stability of the mount and make any necessary adjustments to ensure a secure and level installation.
Step 8: Cable Management: To maintain a clean and organized setup, consider cable management techniques. Use cable clips or adhesive hooks to secure the projector cables along the wall, hiding them from view and reducing the risk of tangling or tripping hazards.
Step 9: Testing and Fine-Tuning: After securing the projector and organizing the cables, test the setup to ensure everything is functioning correctly. Adjust the projector settings, including brightness, contrast, and color, to optimize the image quality. Make any necessary adjustments to the projector’s position, alignment, or image settings for the best viewing experience.
Remember to consult the manufacturer’s instructions for your specific projector and mounting solution. Follow safety guidelines and ensure the wall mount and installation process can support the weight of your projector securely.
In conclusion, mounting a projector to the wall can provide an impressive and space-saving solution for your home theater or multimedia setup. By following this step-by-step guide and considering the specific requirements of your space, you can enjoy a professionally mounted projector that enhances your viewing experience. Transform your wall into a stunning projection screen and immerse yourself in the world of cinema, gaming, or presentations.