
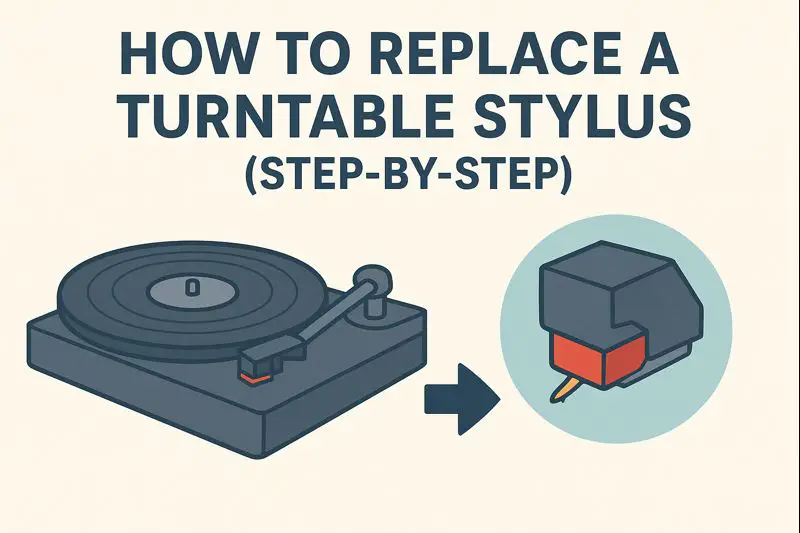
Replacing a turntable stylus is one of the most important maintenance tasks for keeping your vinyl collection sounding great—and keeping your records safe from damage. Luckily, swapping in a new stylus is usually simple, even for beginners. Whether your old needle is worn, bent, or simply ready for an upgrade, this guide walks you through everything you need to know.
Why Stylus Replacement Matters
A worn stylus can cause:
- Muffled, distorted sound
- Skipping or mistracking
- Excessive record wear
- Permanent damage to vinyl grooves
Most styli last 300–1,000 hours, depending on their shape and material. Knowing when and how to replace yours extends the life of both your stylus and your records.
Before You Begin: Check What Stylus You Need
Not all styli are interchangeable.
1. Identify your cartridge type
- MM (Moving Magnet) cartridges usually have replaceable styli.
- MC (Moving Coil) cartridges usually do not—the entire cartridge must be replaced.
2. Find the exact model
Check:
- Cartridge body
- Turntable manual
- Label under the headshell
- Branding on the existing stylus
Using the wrong stylus can cause poor sound or damage.
3. Handle with care
Styla and cantilevers are delicate. Always:
- Power off the turntable
- Unplug if needed
- Work in a well-lit area
How to Replace a Turntable Stylus (Step-by-Step)
Note: The steps below apply to most MM cartridges with user-replaceable styli (Audio-Technica, Ortofon, Shure, AT3600L/LP60 series, etc.).
Step 1: Power Off the Turntable
Turn off the unit and stop the platter from spinning.
This prevents accidental damage when removing or inserting the stylus.
Step 2: Secure the Tonearm
Lift the tonearm and lock it into the arm rest.
This keeps the cartridge stationary while you work.
Step 3: Remove the Old Stylus
Most stylus assemblies slide off with light pressure.
Common methods:
- Pull downward from the front
- Pull forward and out
- Gently wiggle to disengage the clip system
Do NOT:
- Force it
- Bend the cantilever
- Touch the needle tip
Your old stylus should detach as a single small plastic assembly.
Step 4: Inspect the Cartridge
Before attaching the new stylus, check the cartridge body:
- Remove any dust
- Make sure the cantilever socket is clear
- Check for bent pins or debris
A clean surface ensures a proper fit.
Step 5: Attach the New Stylus
Align the new stylus assembly with the front of the cartridge.
Then:
- Insert the top tab into the cartridge slot
- Press upward or backward (depending on model) until it clicks into place
- Ensure it’s secure and flush with no gaps
Never touch the stylus tip directly—hold the plastic edges.
Step 6: Unlock and Test the Tonearm
Unlock the tonearm and gently lower it:
- onto a record
- with the cueing lever
Check for:
- Proper tracking
- No skipping
- Balanced sound
- No distortion or scraping noises
If something sounds “off,” ensure the stylus is fully seated.
Optional: Recheck Alignment and Tracking Force
A new stylus may require:
- Tracking force adjustment
- Anti-skate calibration
- Overhang / alignment checks
This is especially important for higher-end cartridges or stylus upgrades.
For basic entry-level turntables (AT-LP60, Victrola, Crosley), settings are fixed, so no adjustments are needed.
Signs You Installed the Stylus Correctly
✔ The stylus clicks firmly into place
✔ The cantilever is centered and straight
✔ Sound is clean without distortion
✔ No skipping or mistracking
✔ The tonearm lowers smoothly onto the record
If not, remove and reseat the stylus.
How Often Should You Replace a Stylus?
Typical lifespan depends on tip shape:
| Stylus Shape | Lifespan (Hours) |
|---|---|
| Conical | 300–500 |
| Elliptical | 400–700 |
| Hyper-Elliptical | 600–1,000 |
| Shibata | 700–1,000 |
| MicroLine / MicroRidge | 800–1,200 |
Dusty records, high tracking force, or misalignment can shorten lifespan.
Final Tips for Stylus Care
- Clean vinyl before every playback
- Use a stylus brush or gel cleaner
- Keep the dust cover closed
- Avoid touching the stylus directly
- Handle tonearm with care
Good maintenance means better sound and longer vinyl life.
Final Thoughts
Replacing a turntable stylus may seem intimidating at first, but it’s one of the simplest—and most rewarding—parts of vinyl maintenance. With the right stylus and careful installation, you’ll enjoy cleaner sound, improved tracking, and longer record life.